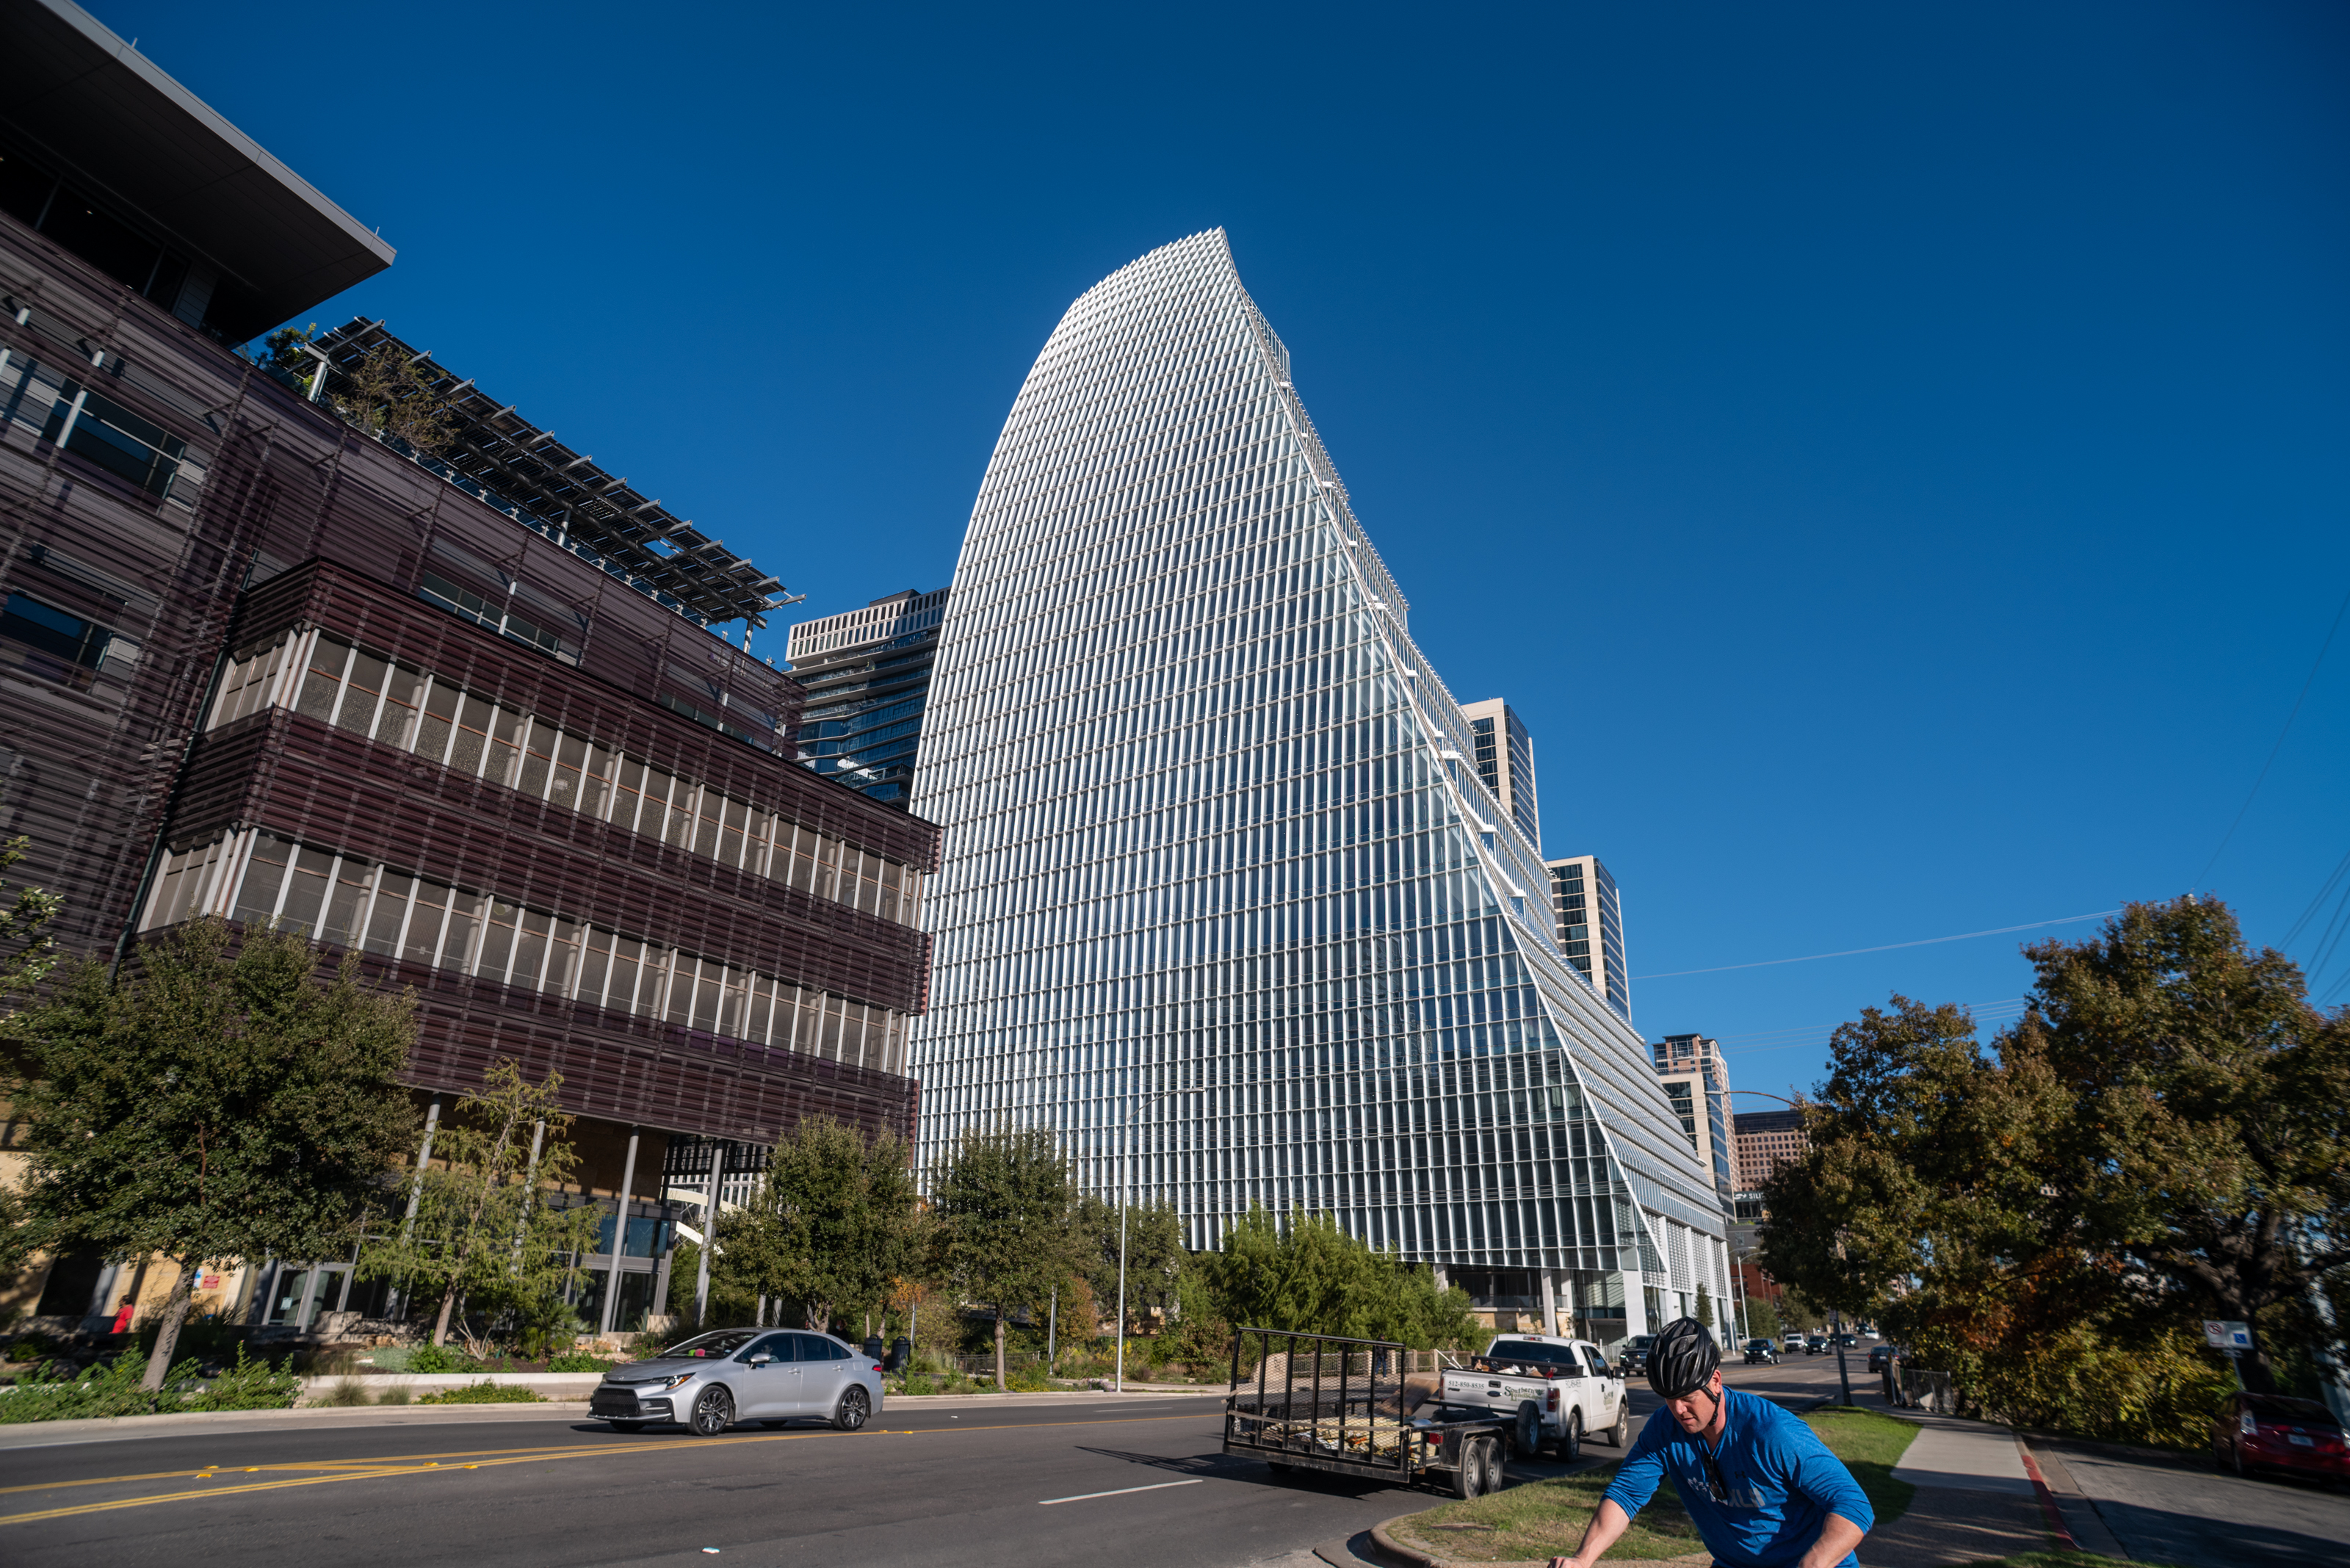
Austin skyline taken today with a Leica SL2 and the Nikon 20mm f2.8 D wide angle lens.
Yeah. I got just about everything wrong when I put the Kirk-maligned Nikon lens through a preliminary test. I left on the nice, Nikon UV filter and the lens hood which was also a Nikon brand. I shot my tests on a dark, flat, gray day and I did so dodging in and out of the rain. What a mess of a "lens review."
I couldn't wrap my brain around a well regarded, recent Nikon lens doing so poorly. It seemed that there was bad vignetting in the corners, flare with any light source and a general lack of overall sharpness. I disparaged it savagely. And now, here I am to offer an apology to the lens and to the readers of the original review-ette.
Today was a kind, sunny, brilliant and temperate day. I took the hood off the lens after I did a test against a white wall and found the hood to be the culprit in the vignetting imbroglio. Darn. I'm usually more detailed oriented than that. I also jettisoned the filter because I think it was causing some of the lowered contrast and lack of biting sharpness. I went out and shot in the late afternoon sun and stuck with normal ISOs instead of some of the "heroic" stretches toward 12,000 I was trying last week.
The end result? Well. I was wrong. The lens is pretty darn good. It may not be the absolute highest resolution 20mm out in the market but it's more than good enough for just about anything I can think of for general use. The one flaw the lens still exhibits is the wavy distortion. But everything else I bitched about vanished when I used the minimum of due diligence in devising a real test. Now I'm very happy to have the lens along for the ride. I might even figure out how to correct the distortion and press the lens into use shooting interiors.
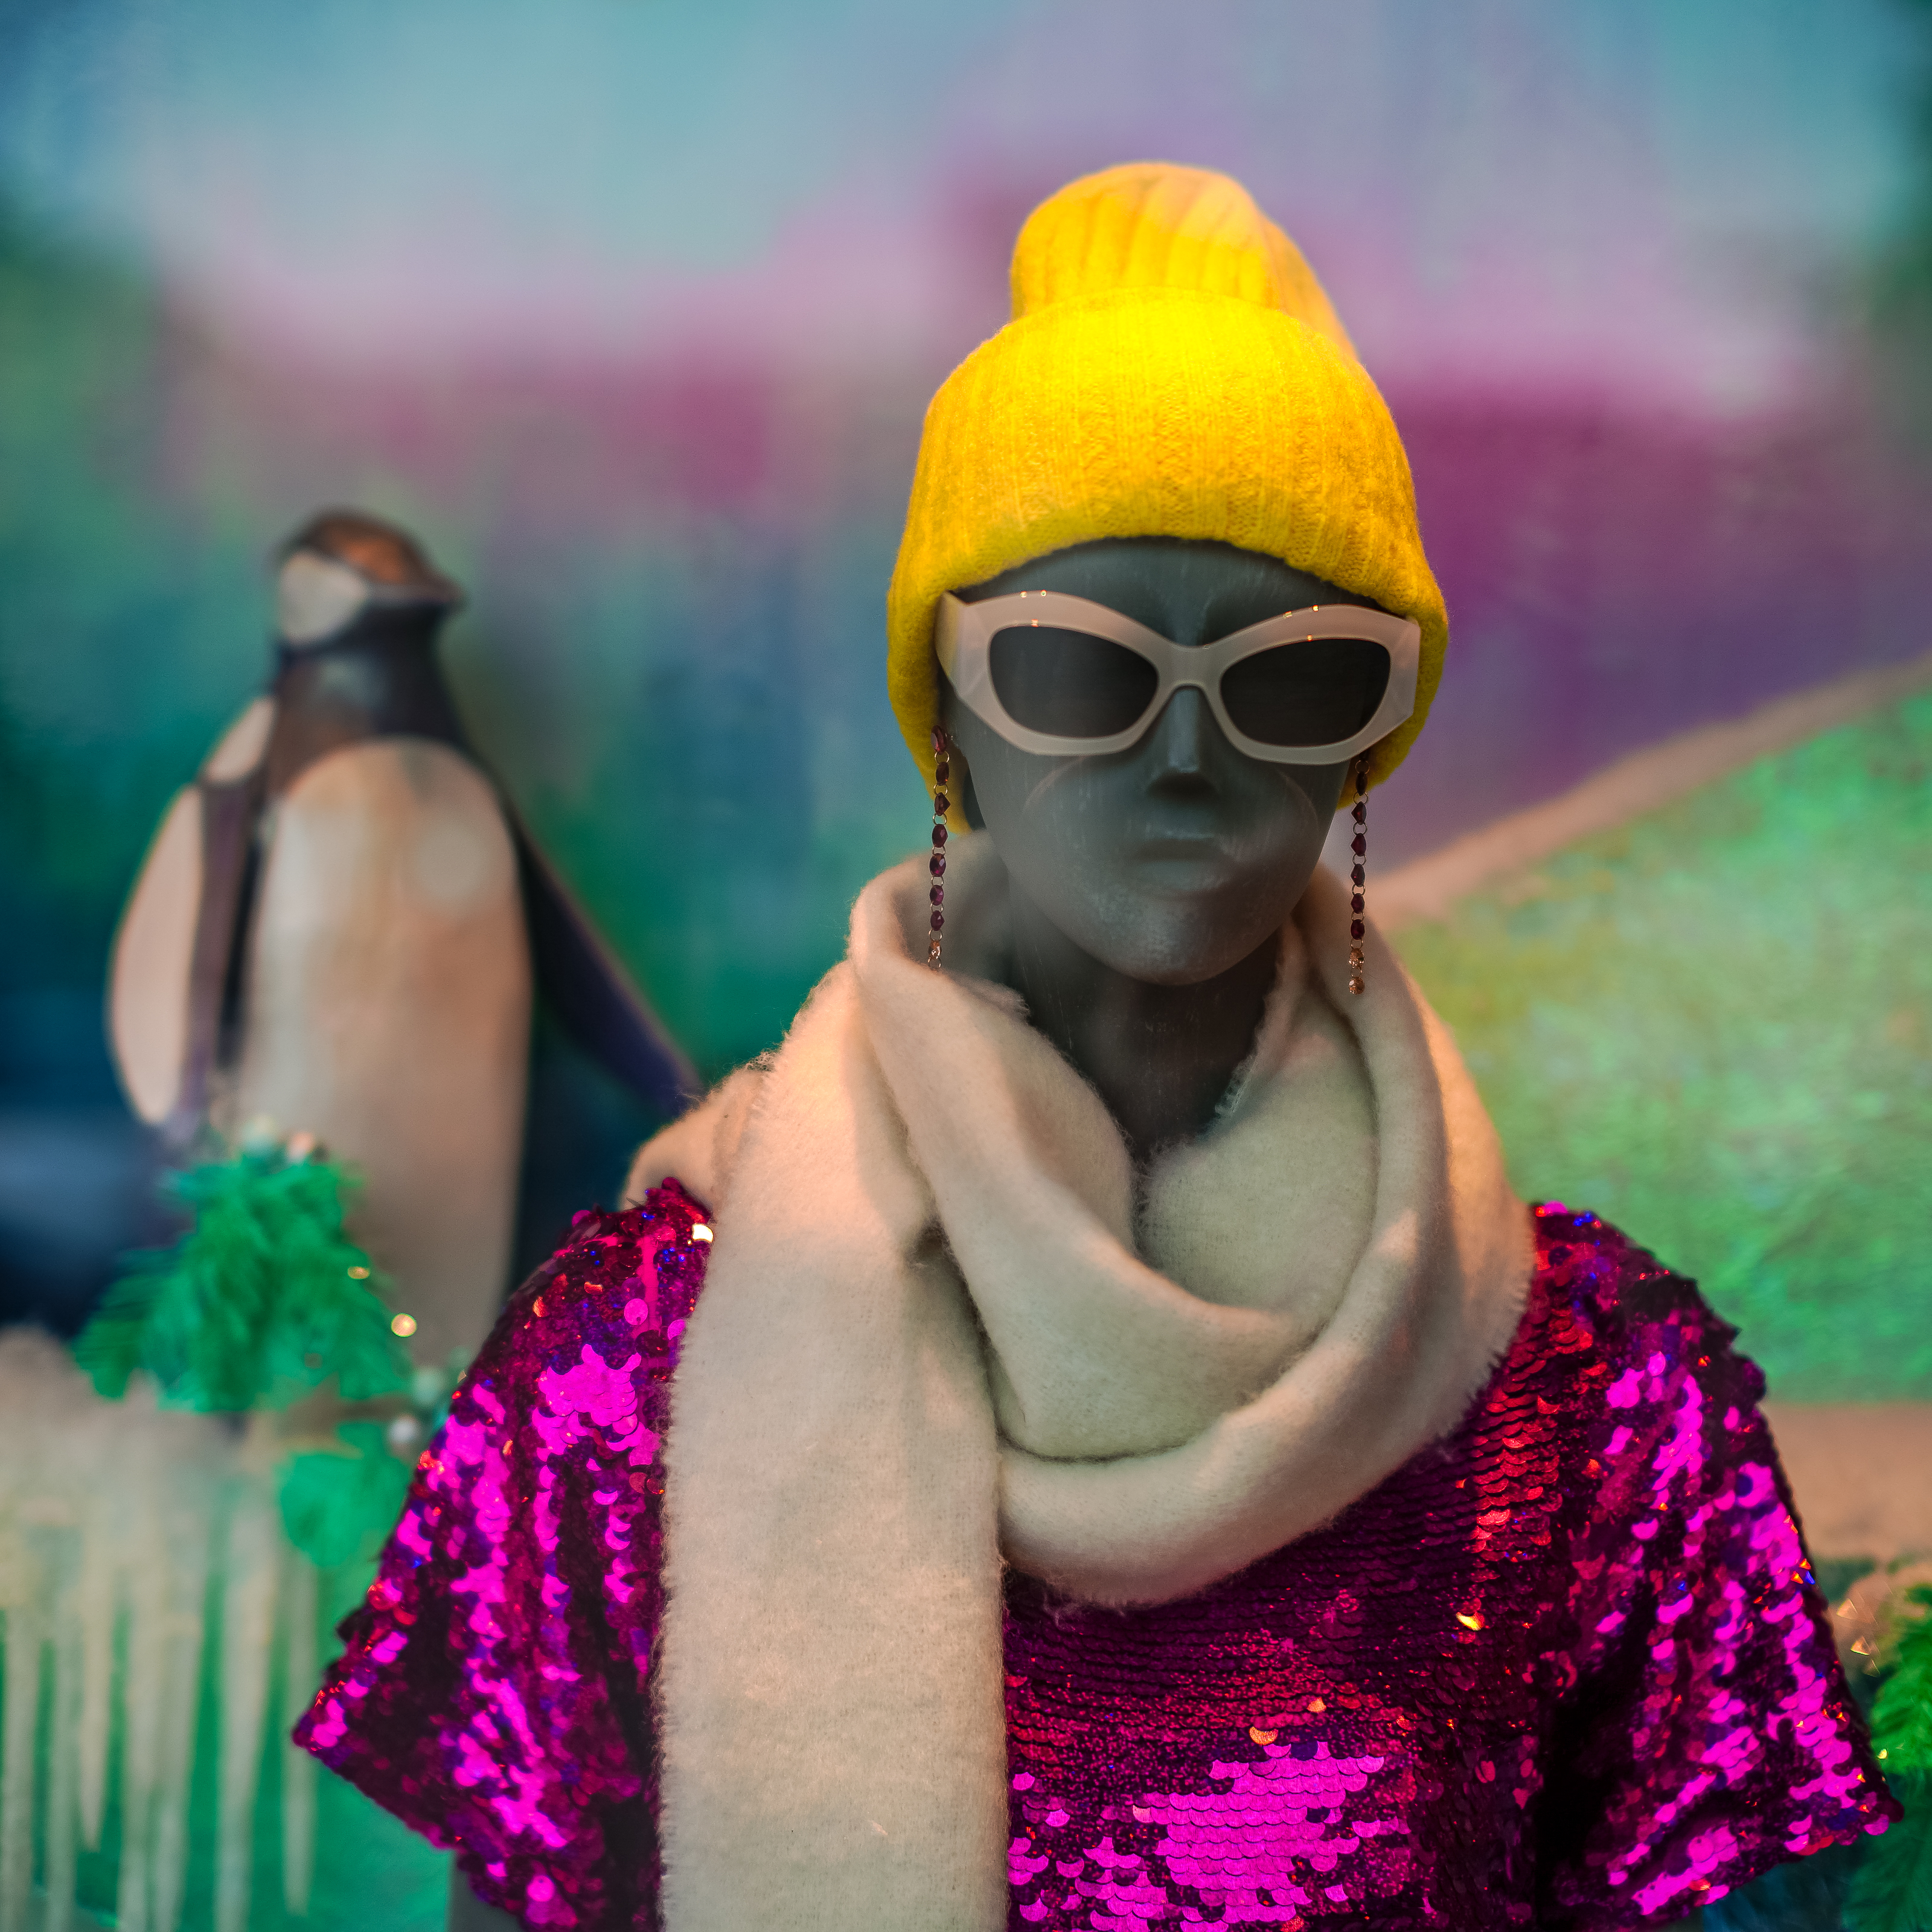
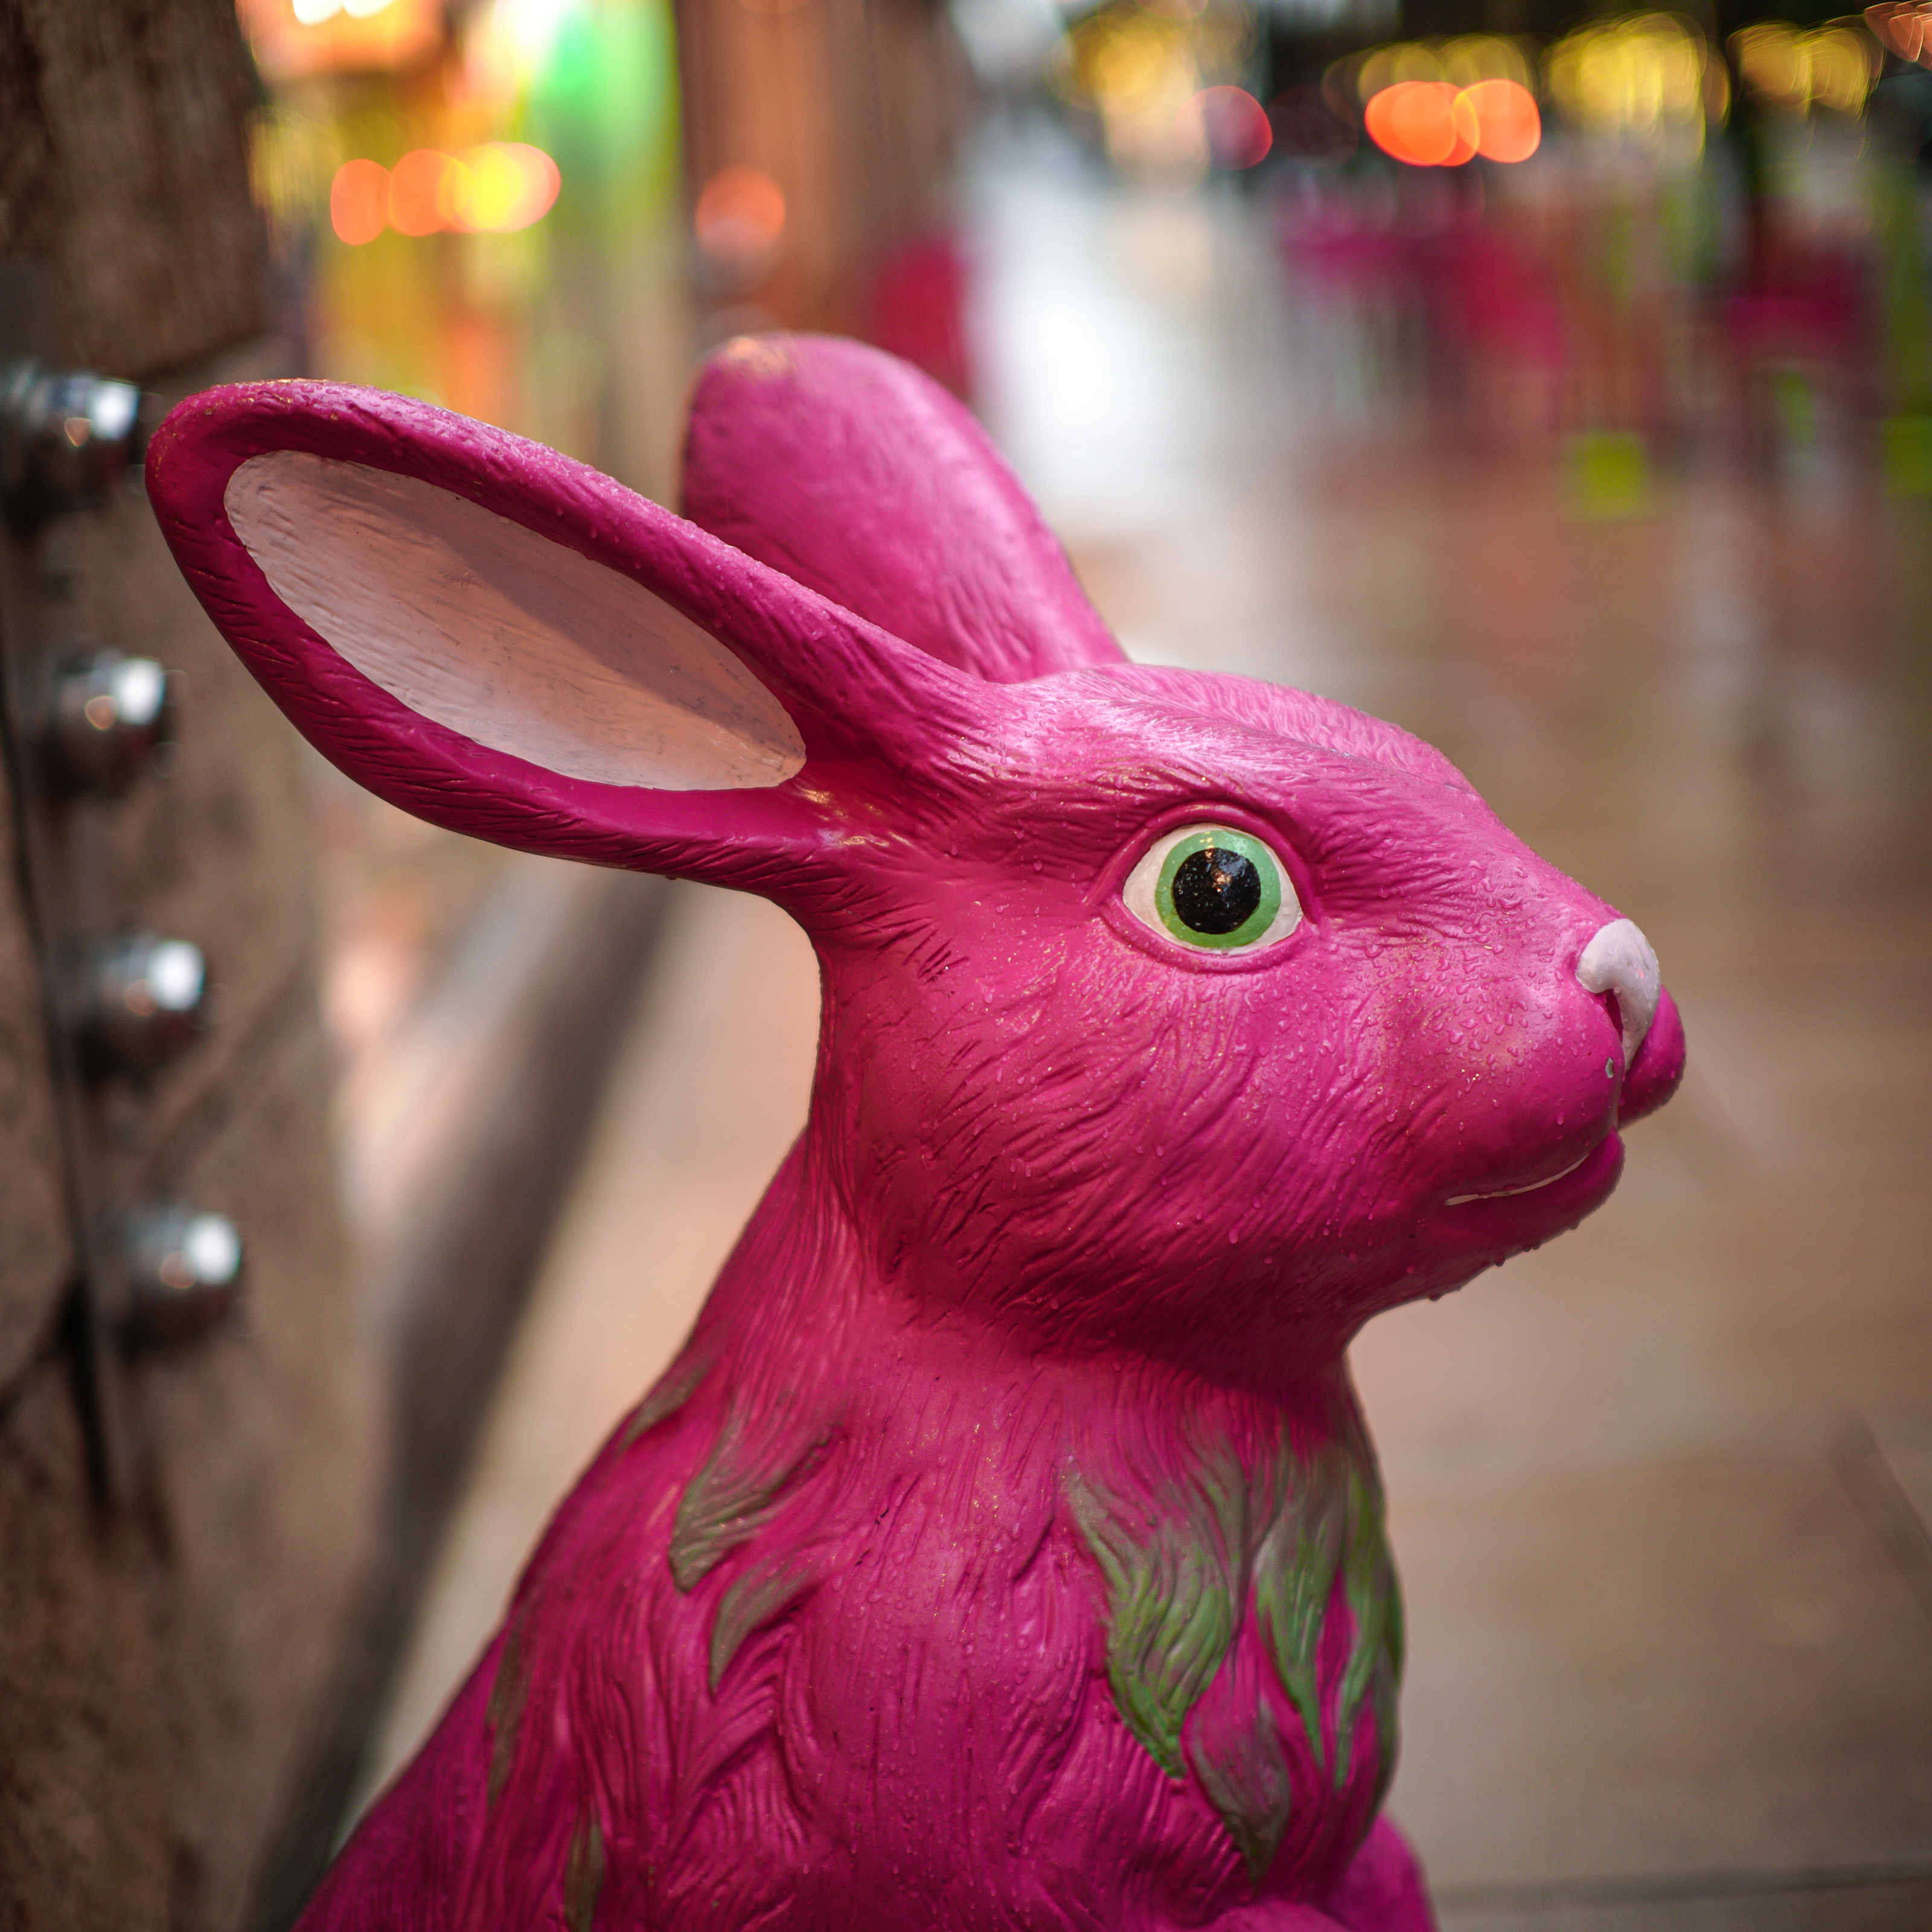
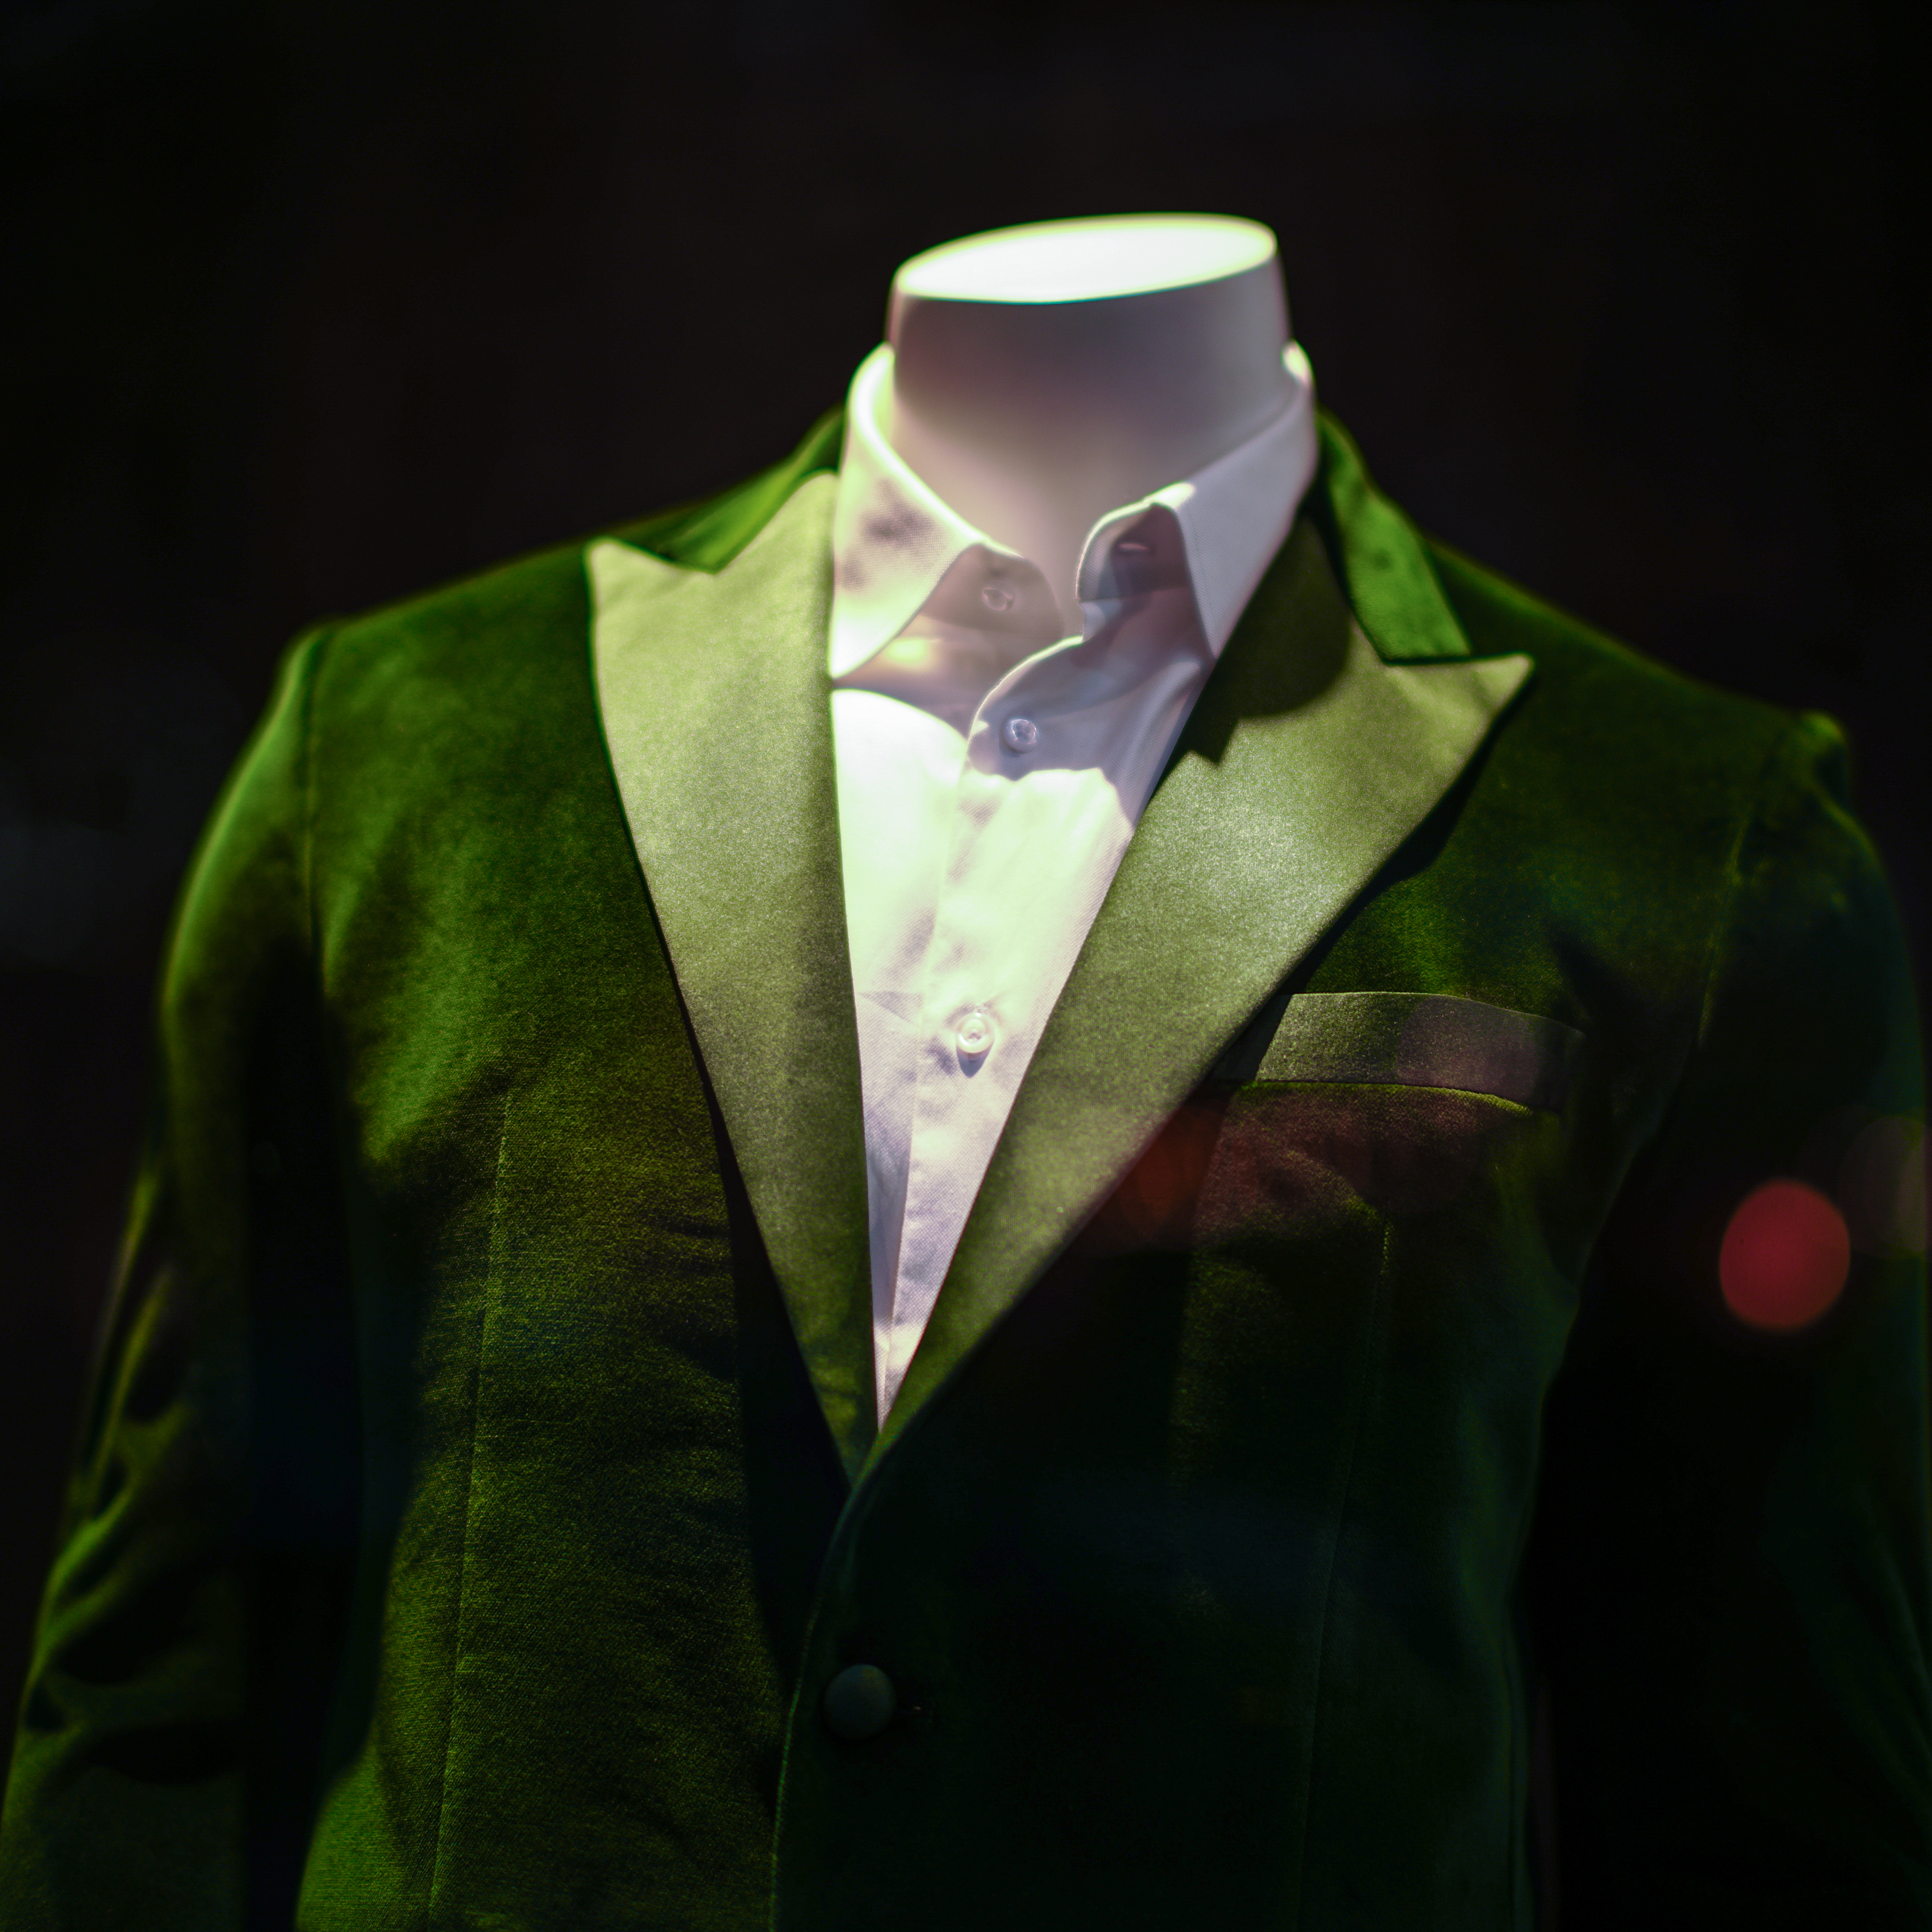
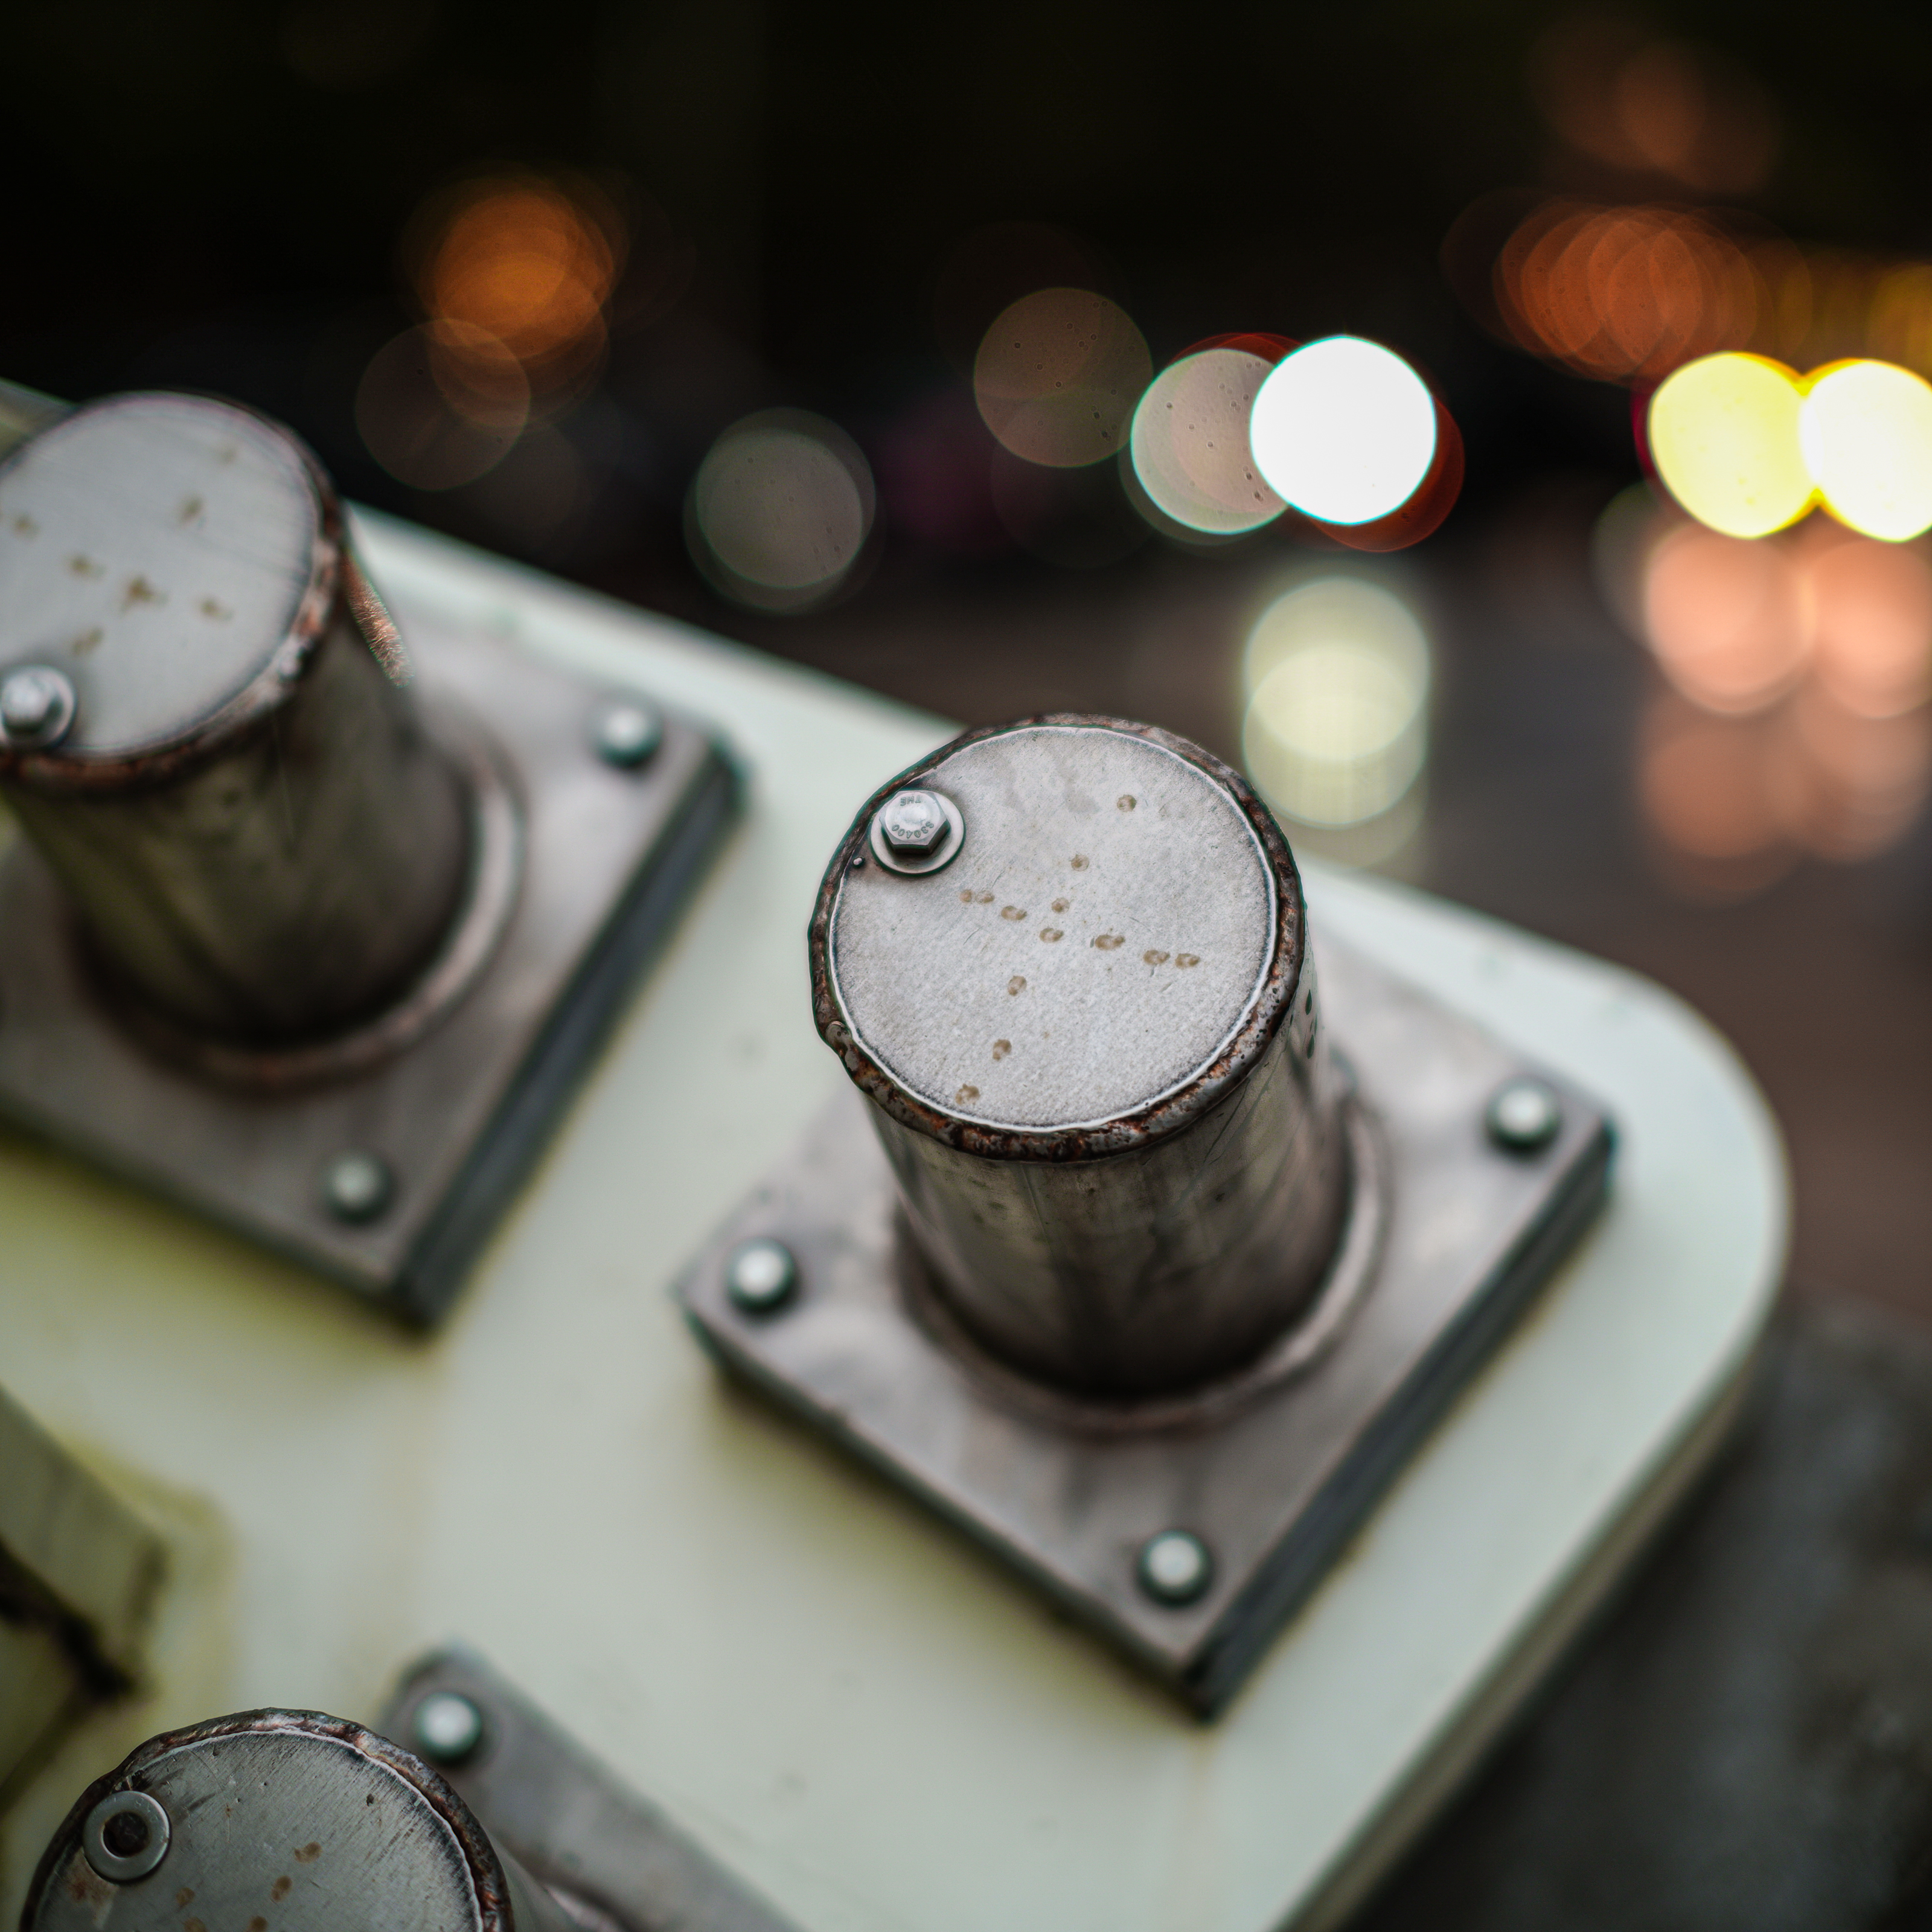
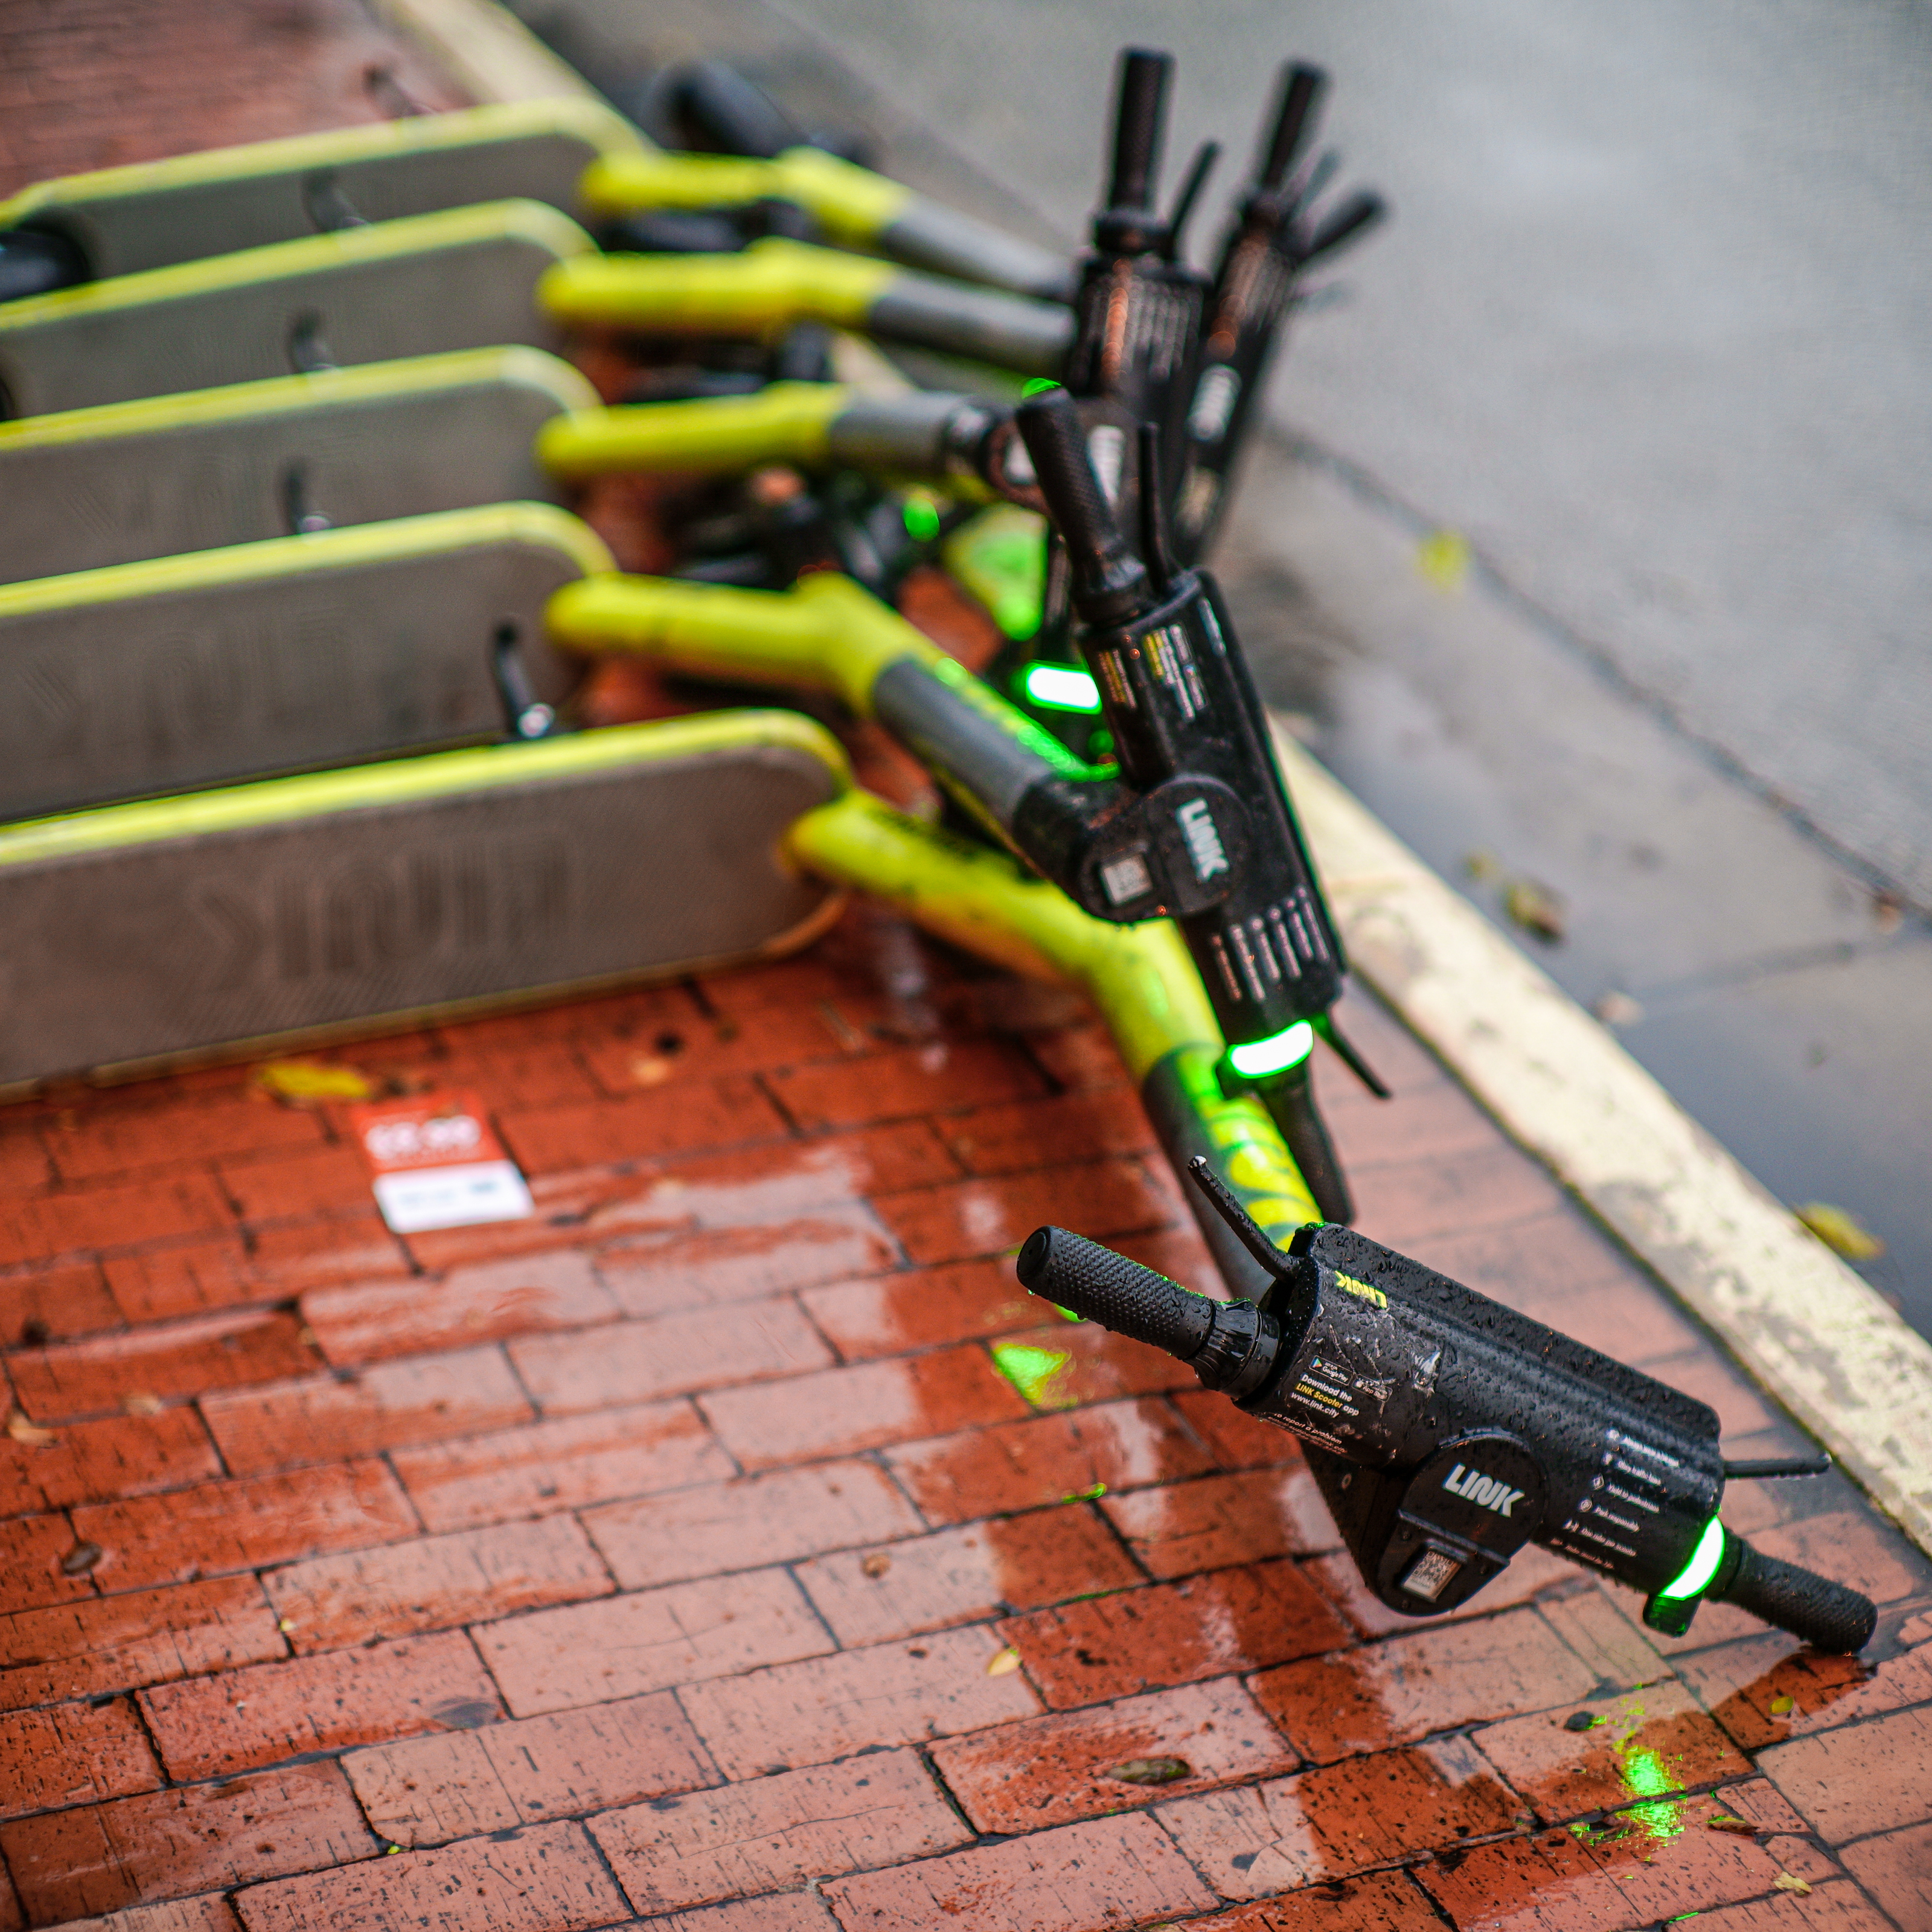
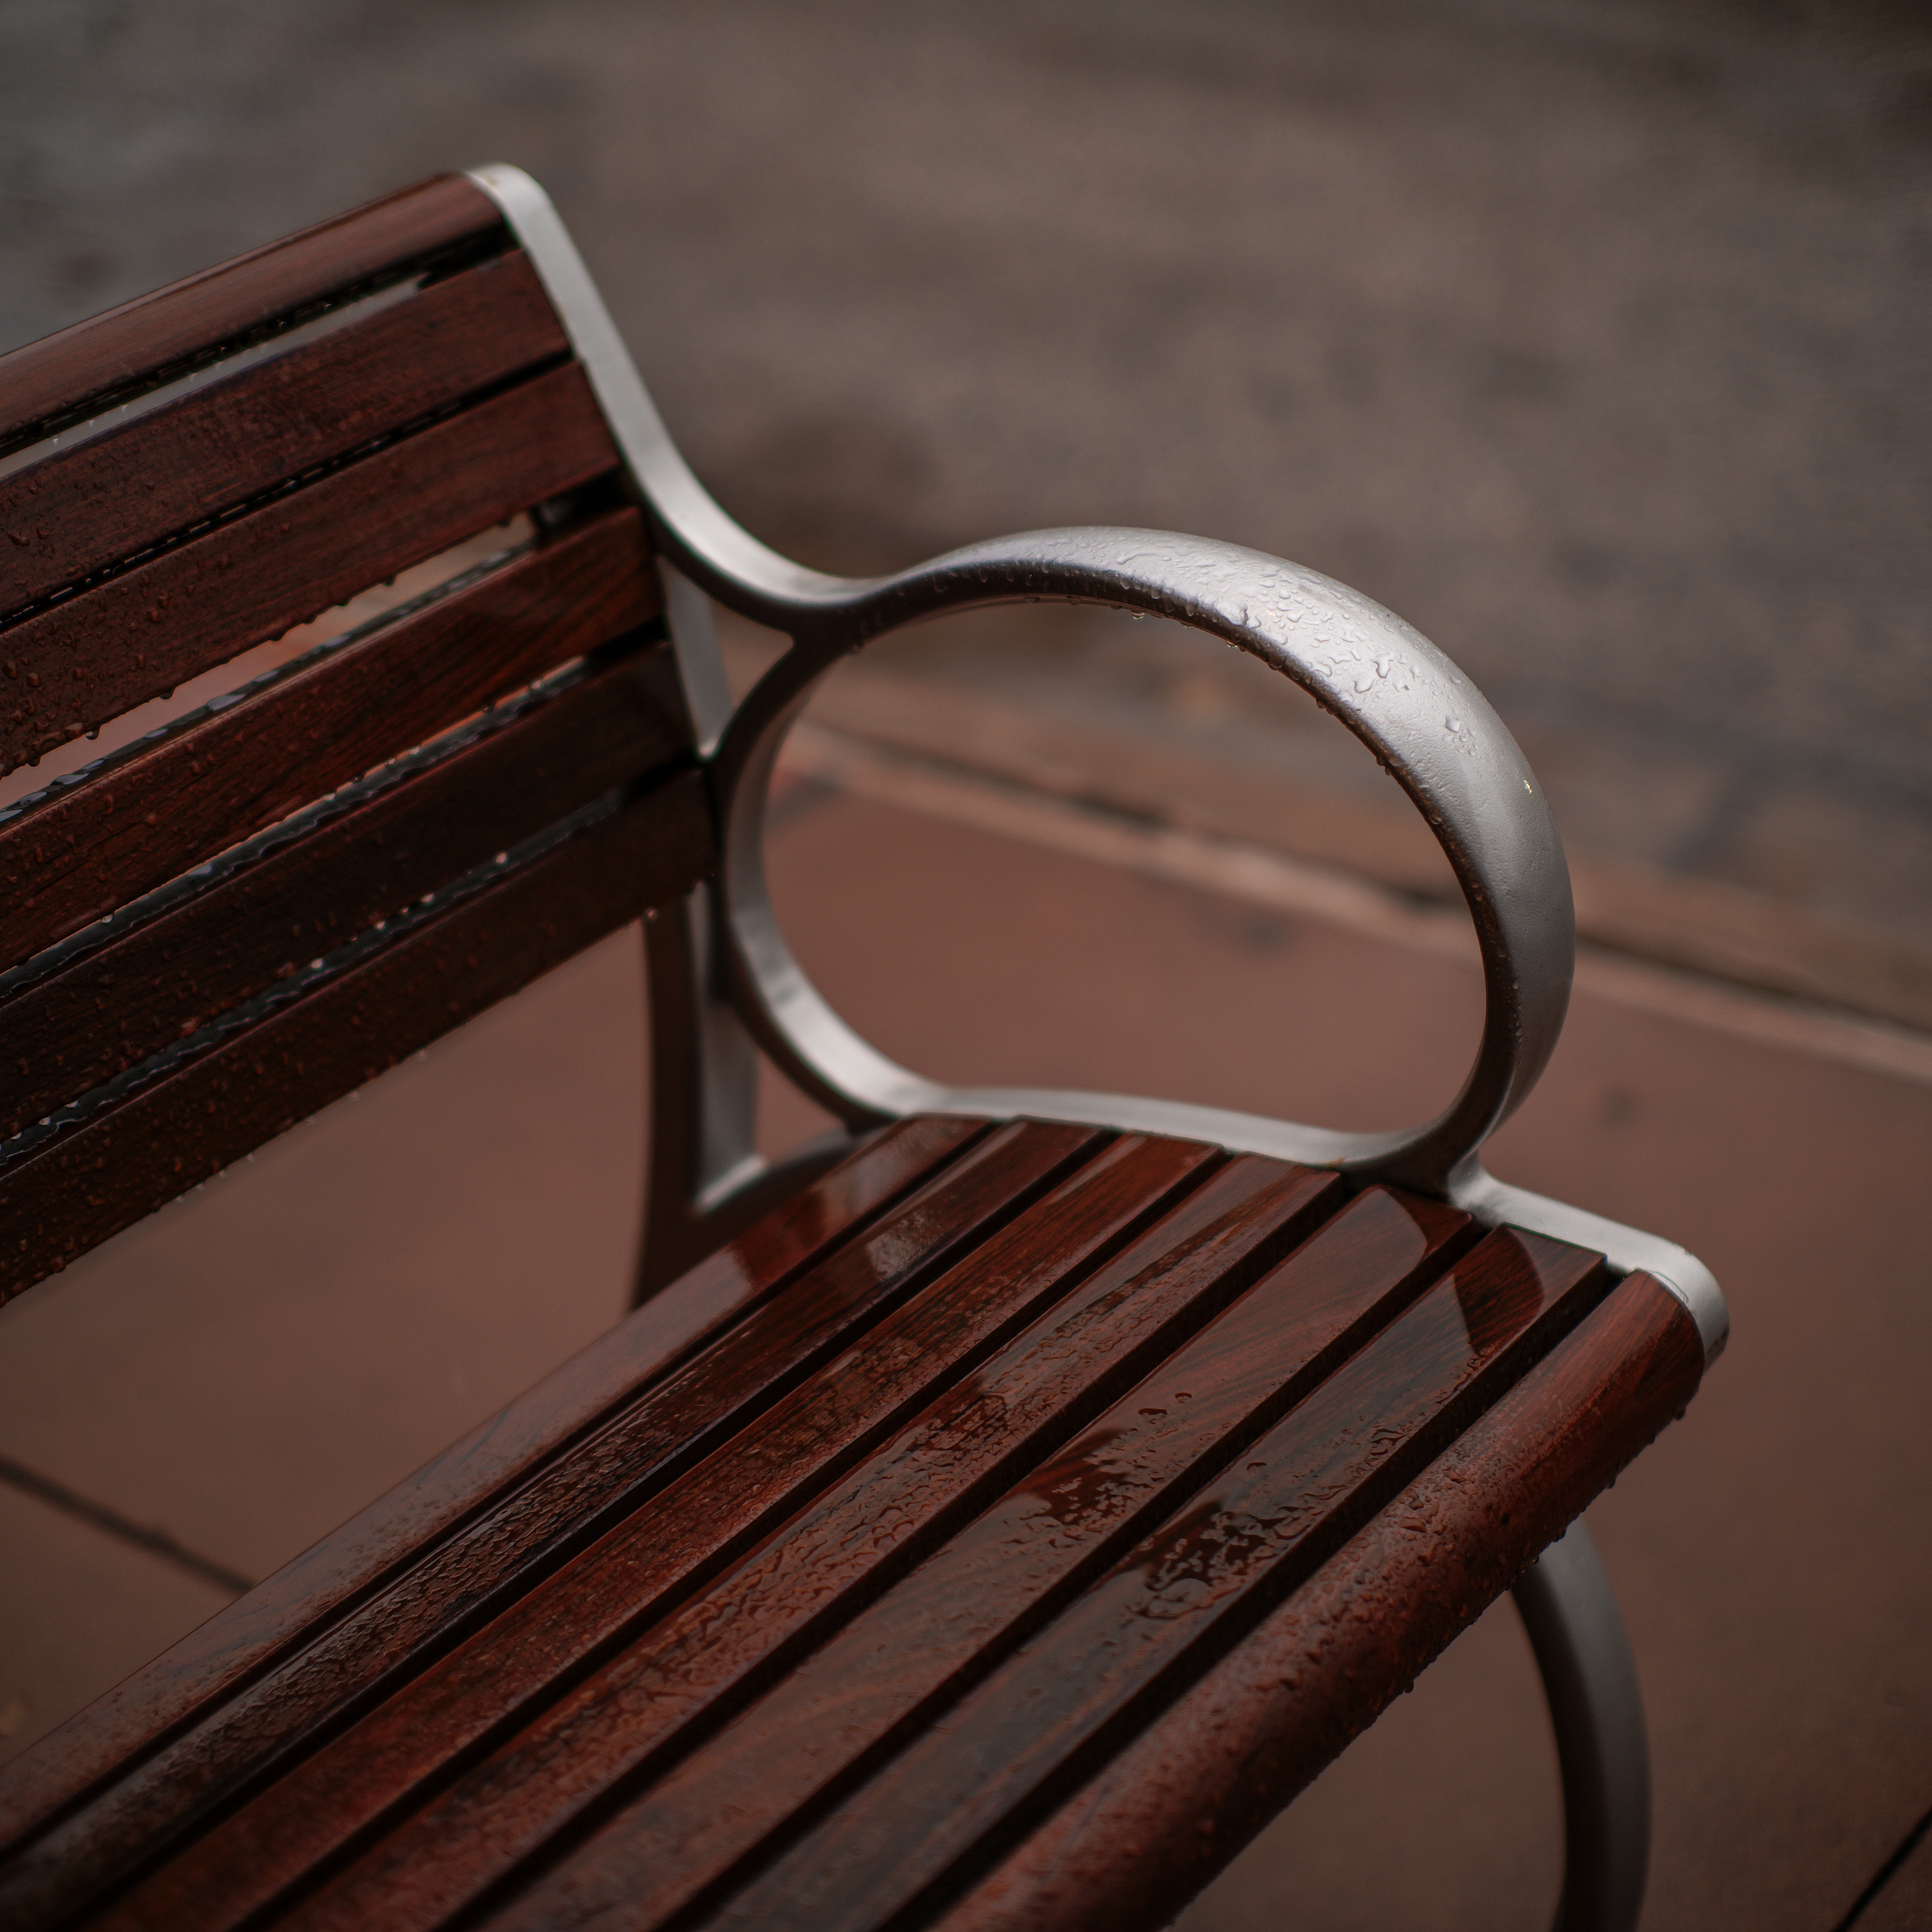
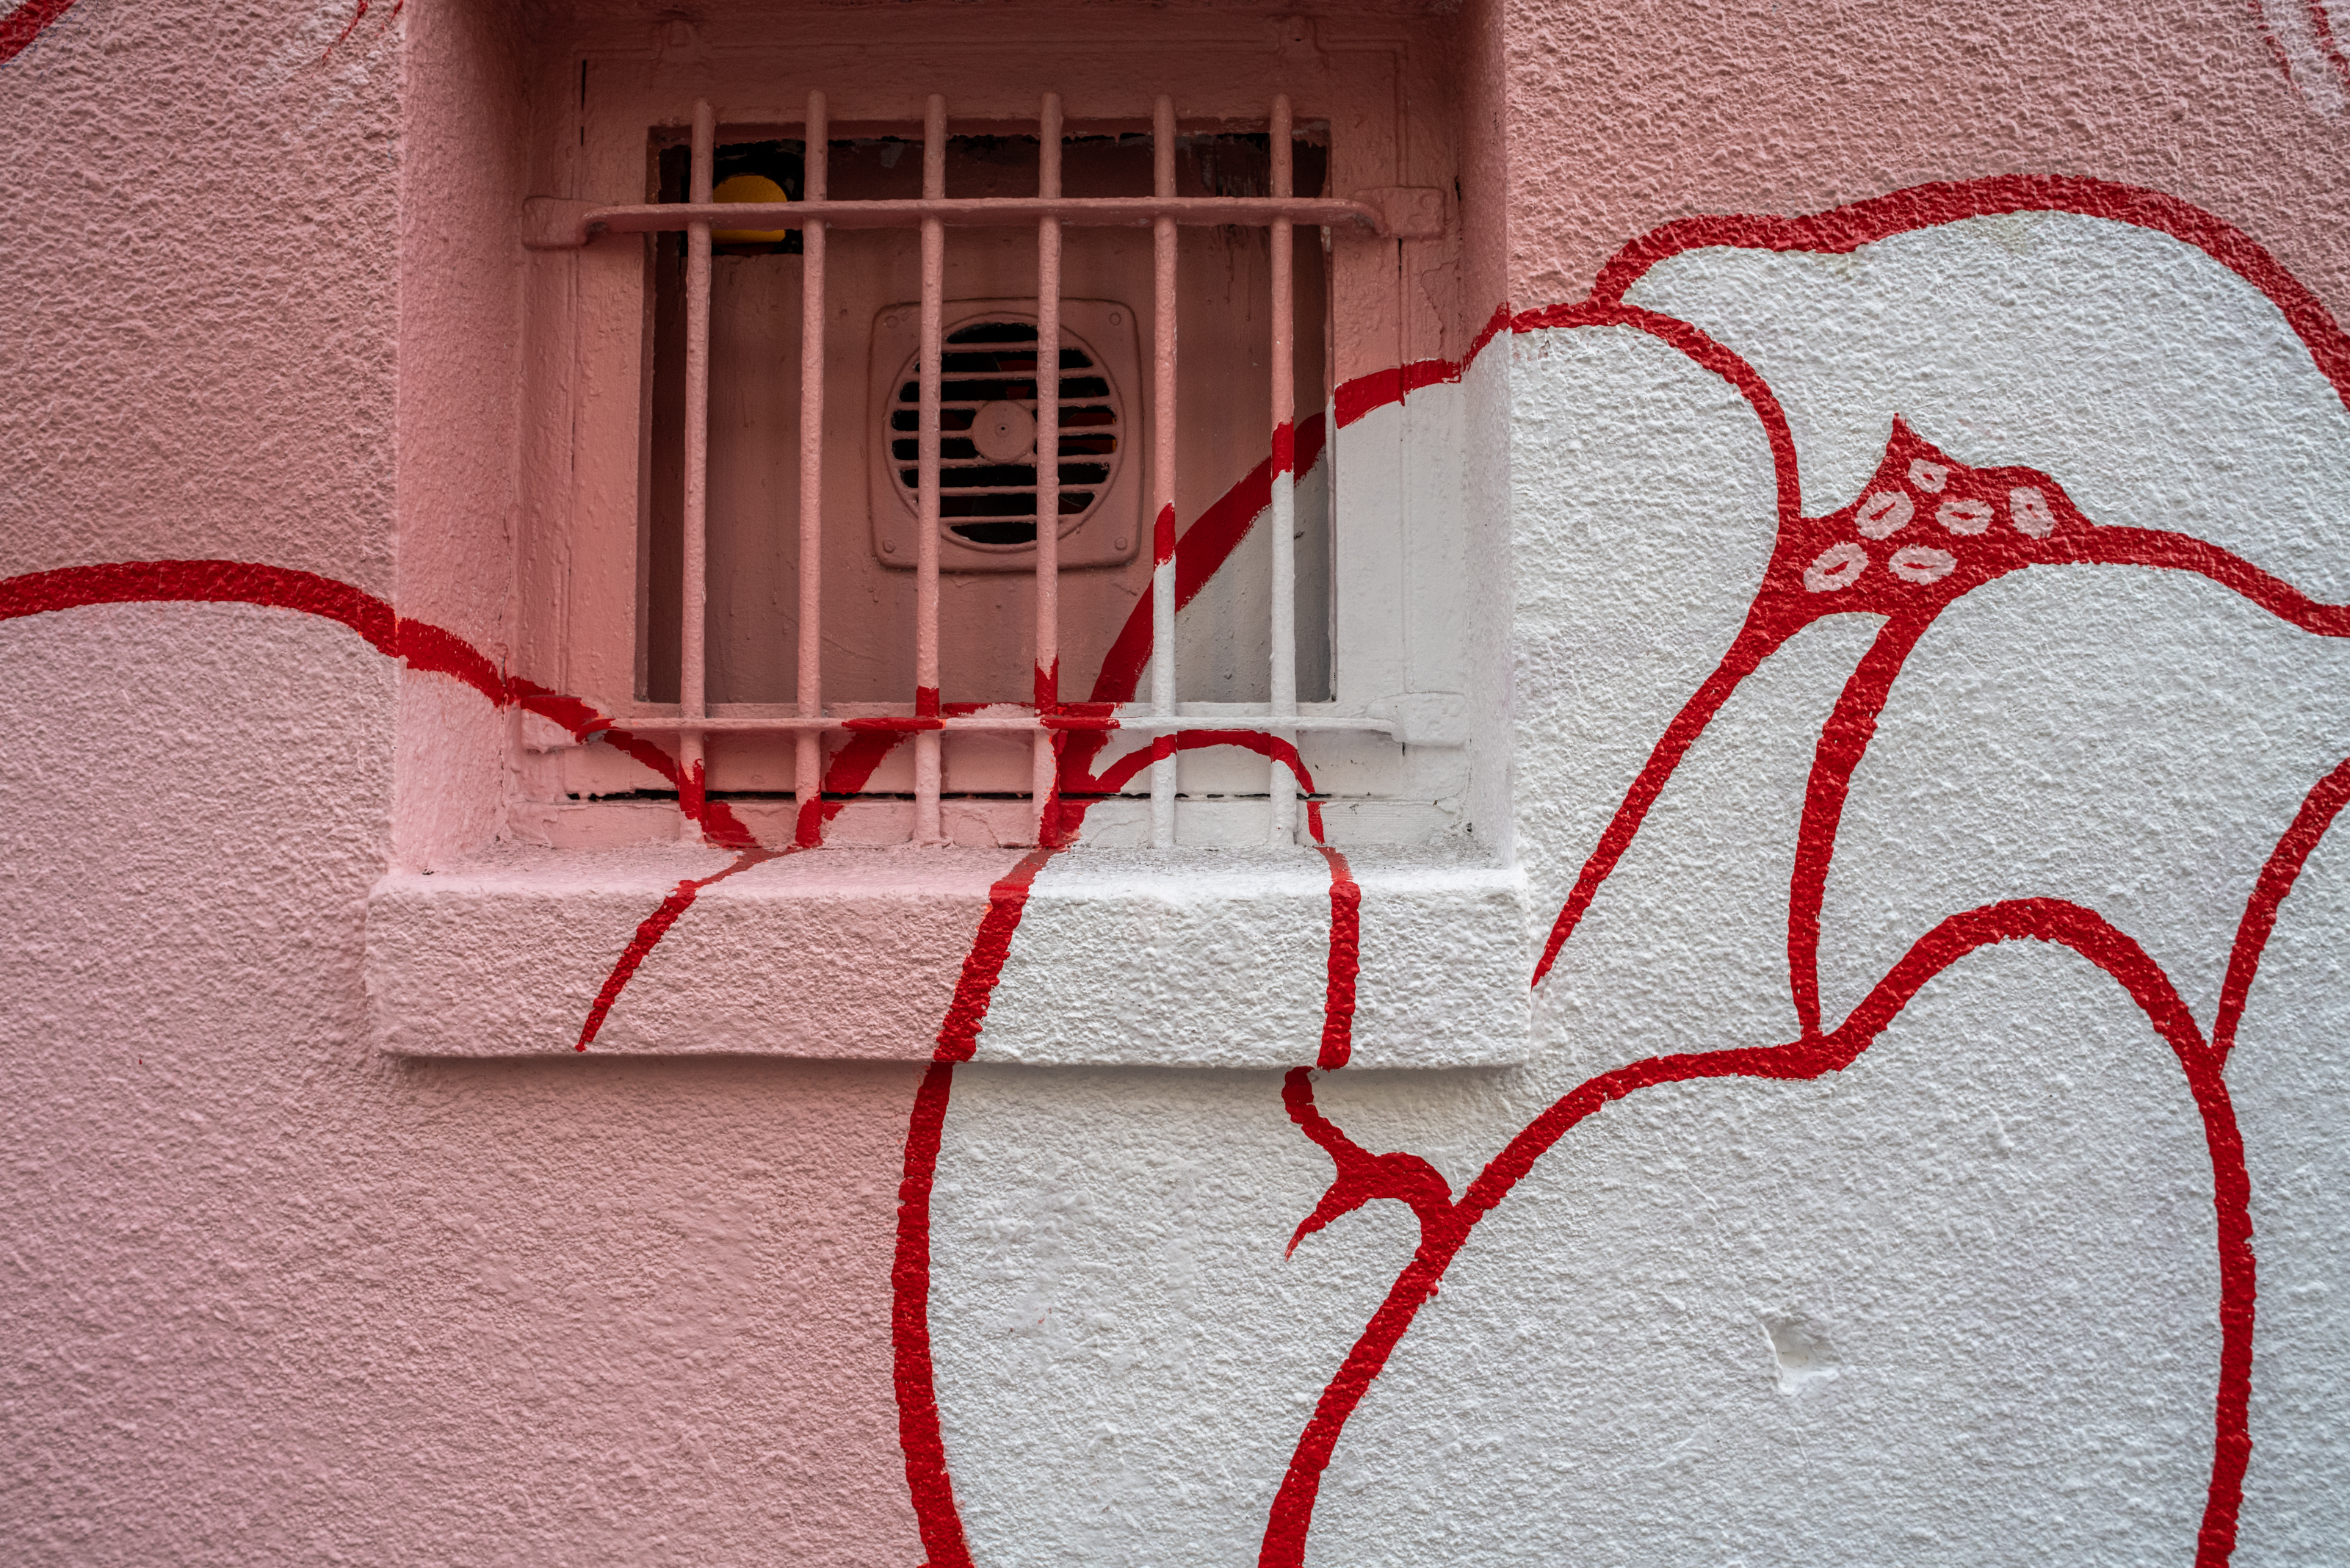
Just wanted to step up and take responsibility for my egregious error in the previous post. Mea Culpa. Too impatient to wait for the right test conditions and that's totally on me. If you want to see what the lens is capable of just check out the rest of the images here. Mostly shot at f4.0 and f5.6 but one or two were shot at f8.0. All good.
Check em out.


reasonably good wide open and hand held at high ISOs.


the brick wall test.