Good lenses don't have to cost a fortune.
A couple days ago I posted a long blog with a lot of samples of photographs made with a super cheap 23mm lens on the front of a super expensive camera. I made classic blogger mistake by bringing up a second subject along with my primary subject. The hope was that people would look through the images and be amazed (as I was) at how sharp and near perfect the images were from the lens. It support my long term idea that there is really not a tight interlock between lens performance and price. It would also reinforce my constant mantra that you have to test stuff for yourself. You can't rely on strangers for accurate data as it relates to your own vision. Most reviewers don't have a clue about how you like to use lenses anyway.
But then I asked my blog to multi-task; I screwed up, violated the "one subject only" rule and I mentioned a blog post by Michael Johnston who posed the question: Are hobbyists (photographers) being priced out of the camera market? And in one fell swoop I moved everyone's attention from my main premise (the lens = good+affordable) to the small side question (un-affordability?) which many more people wanted to respond to. And, ironically, the lens actually illustrates the premise that very, very affordable gear is completely workable, even praiseworthy. It was the wrong blogging strategy for an age when everyone is engaged with the doom and gloom of the financial markets. And the harsh realities of inflation.
But the whole question of affordability, and the state of the economy, seemed to have its own momentum and I churned out two more posts. One about property values and another about surviving in a freelance "art" business. And by then I was bored to tears.
Today was one of those days when you get the small jobs of daily life taken care of and there was nothing big, exciting, perilous or profitable on the agenda. And nothing photographic. Not even a walk. So I spent the day just doing things that I like. Or that needed to get done to safeguard the overarching routines of my comfortable life.
I got up early, made coffee and toast, then went to swim practice. The sets were interesting. Instead of distances we did blocks of time. Swim as far as you can in four minutes. Do an easy couple of laps and then repeat the swim as far as you can in four minutes. Over and over again. No matter how the coaches slice up the sets we still manage to get in at least three thousand yards in our hour long practice.
I grabbed a coffee and a blueberry scone at the local coffee shop and ran into an old friend who is a certified power player in Austin real estate. She and I chatted in the parking lot for 40 minutes about a wide range of topics until we both realized that our coffee was getting cold and it was time to break up the chat-fest and head to our respective homes.
I deposited checks yesterday from three large jobs I did back in April. So this morning was a time to sit down and write checks. I usually write one each month, on the first, to put into our joint household account for stuff like property taxes, health insurance premiums, utilities and groceries. Today I decided to pay for this month and the next two just so I wouldn't be tempted, when looking at the money in my checking account, to rationalize something new like an expensive lens or a Leica medium format camera system. Better to remove temptation with the stroke of a pen.
It's also my turn to cook dinner today. I love cooking fresh salmon and Whole Foods has a great fish counter so after I balanced the personal and business checkbooks I headed over to the local "food oasis" and bought fresh fish, an assortment of vegetables and a jar of instant coffee. The instant coffee is for all those times, like tomorrow, when I have to get up super early and get on the road. When I'm too sleepy to go through my usual "pour over" process/ritual but really could use the caffeine. I actually like tolerate a brand of instant coffee called "Mt. Hagen." It's really not bad.
I love checking out at Whole Foods because they've done such a good job at training millennial shoppers to do self-checkout that there is always a cashier with no line who will ring you up and bag your groceries while you stand around looking as cool as you can in your Birkenstocks, bad shorts and your sunglasses.
Two photo events happened today. First, I got a lovely e-mail from a client letting me know that the budget for photography was not approved for their upcoming show in Nashville, TN. The client seemed a bit crestfallen but promised: "next year!" I was okay with that since it's a big show and the Covid numbers are creeping back up all over the place. I wasn't anxious to become part of the Hard Right Wing Airplane Mask Theater and I'm not ready to pony up and fly private just yet... that would be too Veblen.
I think B. was relieved since, in her telling, I always have such great optimism about out-of-town trips and, in fact, the reality of the experiences rarely measures up. I think she'd rather we just go somewhere on vacation together instead. I've learned not to be disappointed by lost work anymore. There's nearly always a very silver lining...
The second photo event was, ta-da! the arrival of yet another piece of gear. But nothing outrageous or priced beyond the grasp of mere mortals. The new "gear" was a Gitzo photography backpack. I'd seen it a while ago when I was planning a different trip, thought it would be a good airline travel piece of luggage, put it on my "wish list" at B&H and then promptly forgot about it. They e-mailed me to let me know that the product had gone on a limited time sale. I could save about $50 bucks if I still wanted it. I did.
I'd write a long and torturous review about the new camera hauler except that I have just unboxed it and haven't yet put in a single glorious lens or legendary camera body and I haven't adjusted the straps and put it on my shoulders. That's on the mid-range (within a couple weeks) agenda.
This backpack is bigger than the others I've got. It's the 30L (30 liters?) version and it's very well padded. The main compartment opens to one's back so it's not vulnerable to street crime like a conventionally opening backpack is. Also there is a roll top compartment on the top which you can expand to carry stuff like a light jacket, a warm hat, some extra socks...
I like having the right luggage for the right purposes. This fills the bill for transporting small systems through airports, hiking and general travel. If you're doing car trips it's a great way to have a grab-n-go inventory of camera gear pre-packed.
My other backpack is a smaller Think Tank model which works fine but isn't as deep. It's good for smaller system cameras but not bigger, full frame Leica behemoths. Some pix of the new product below.
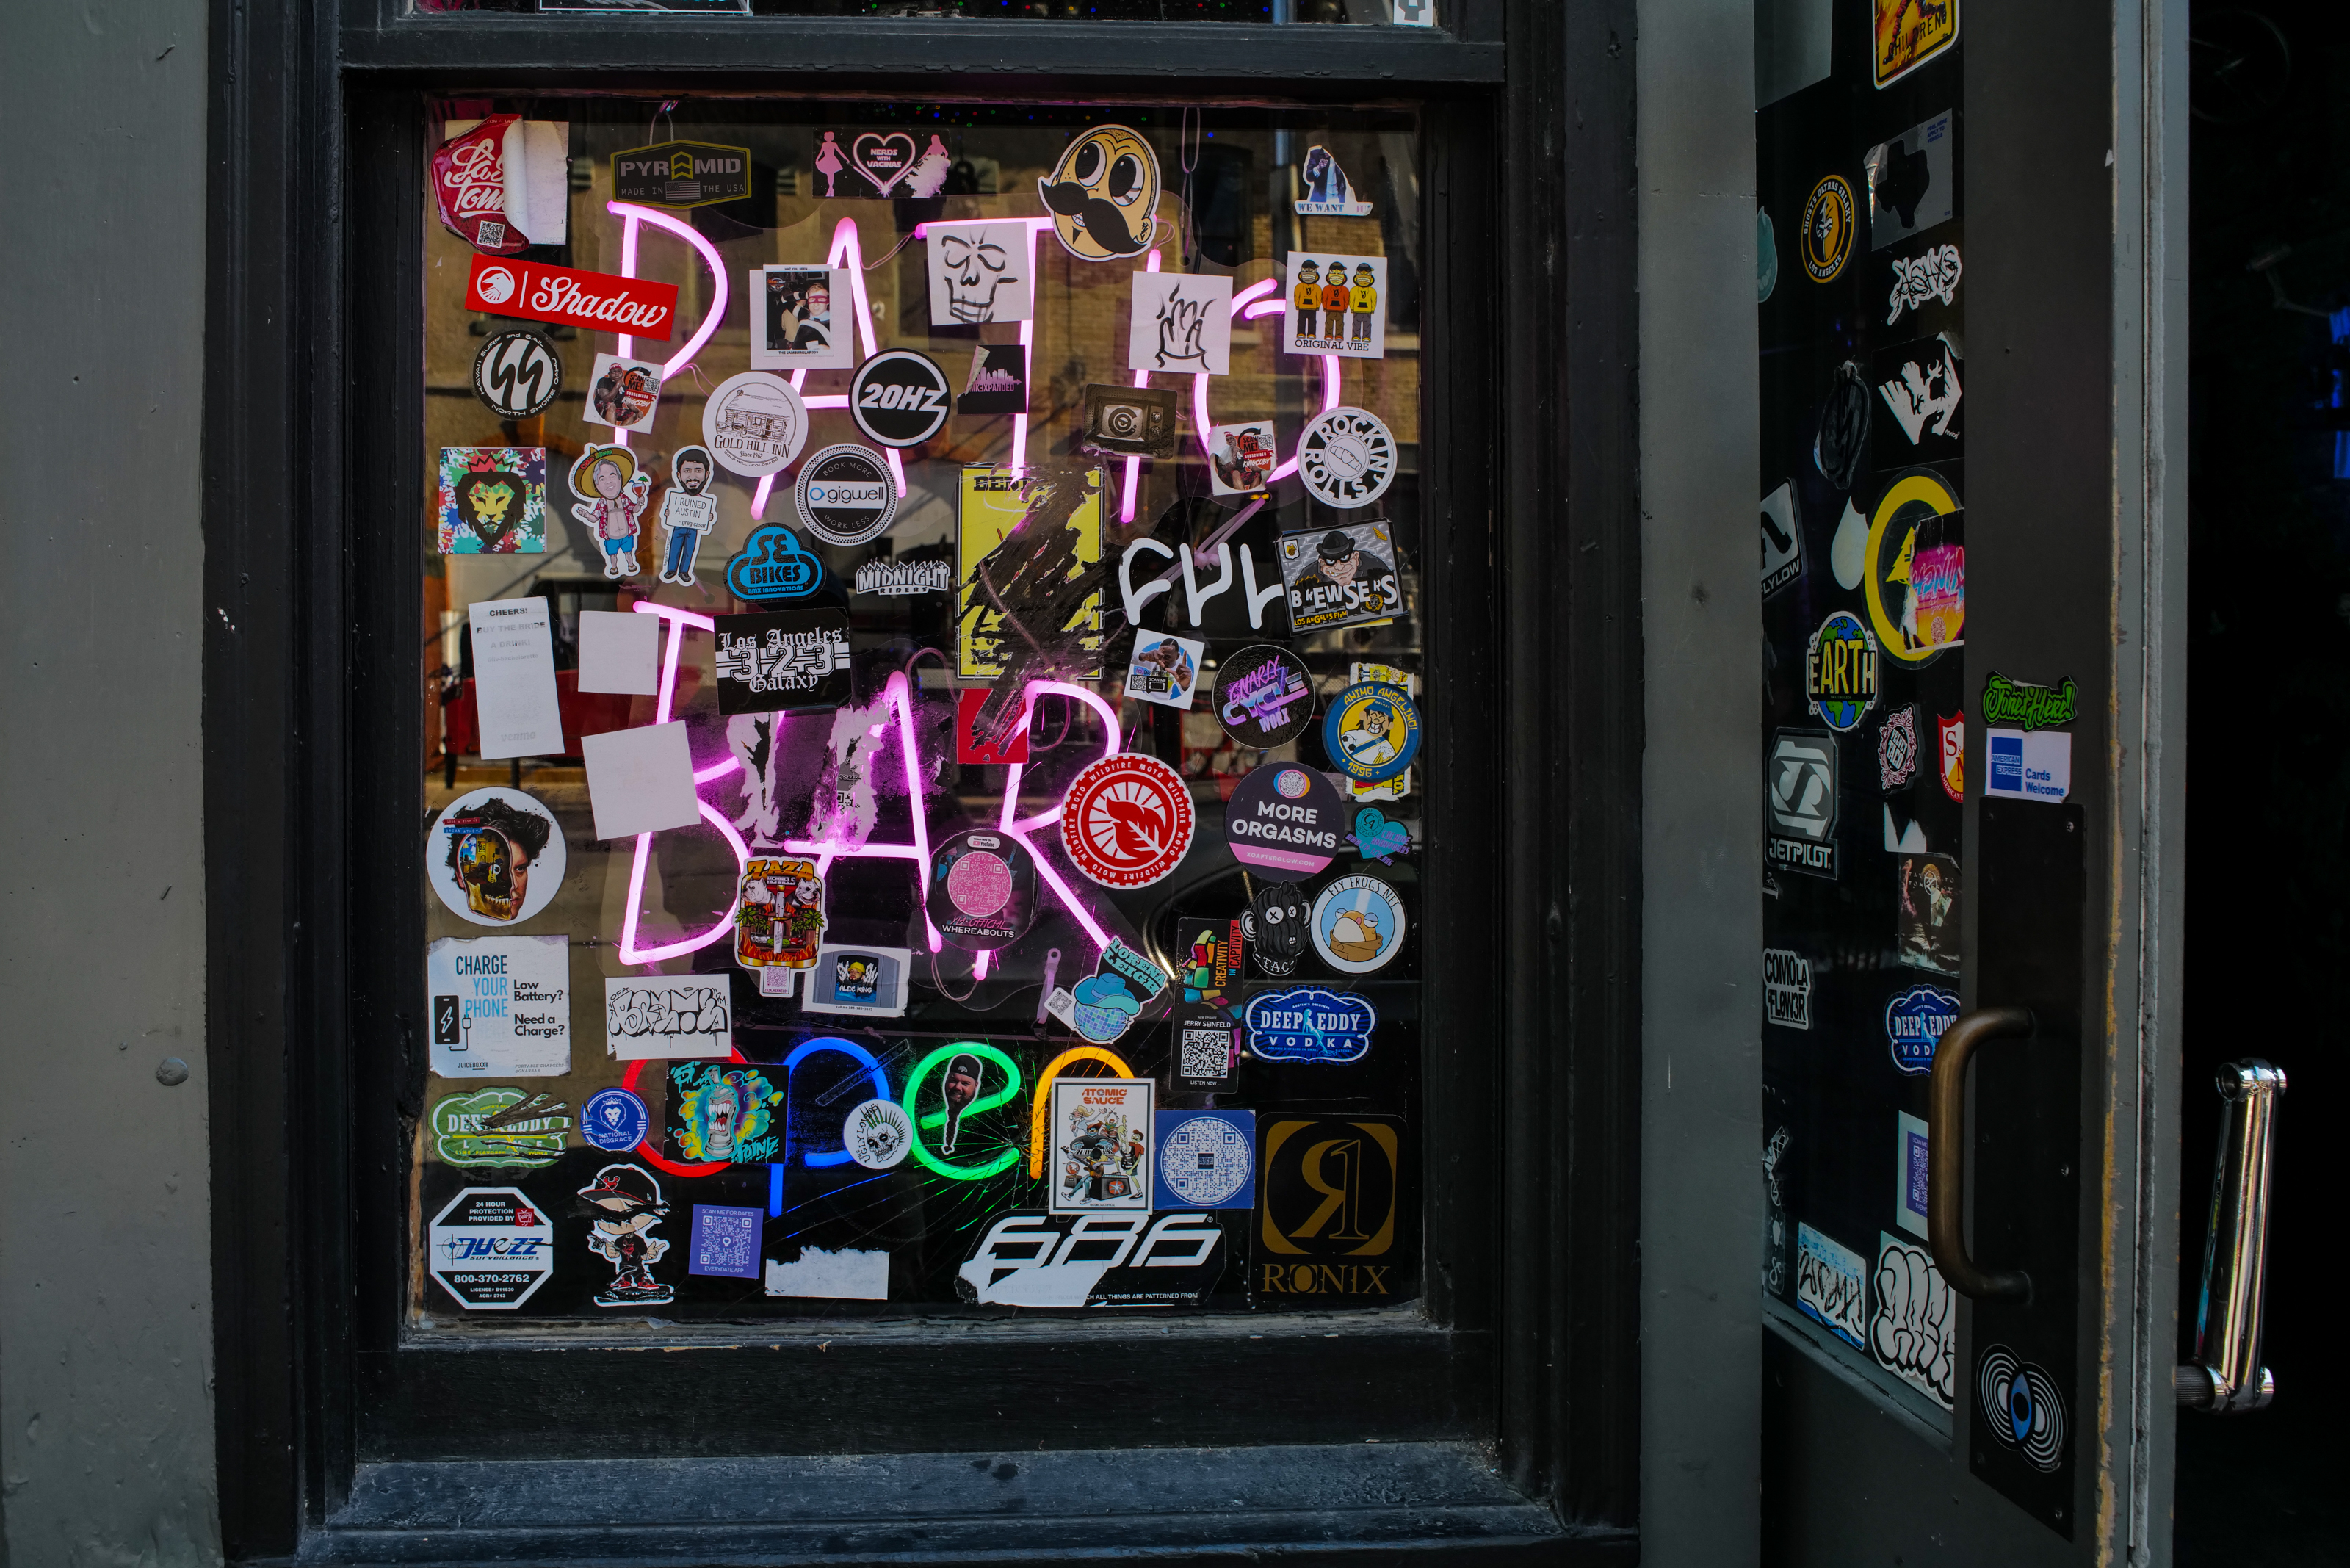
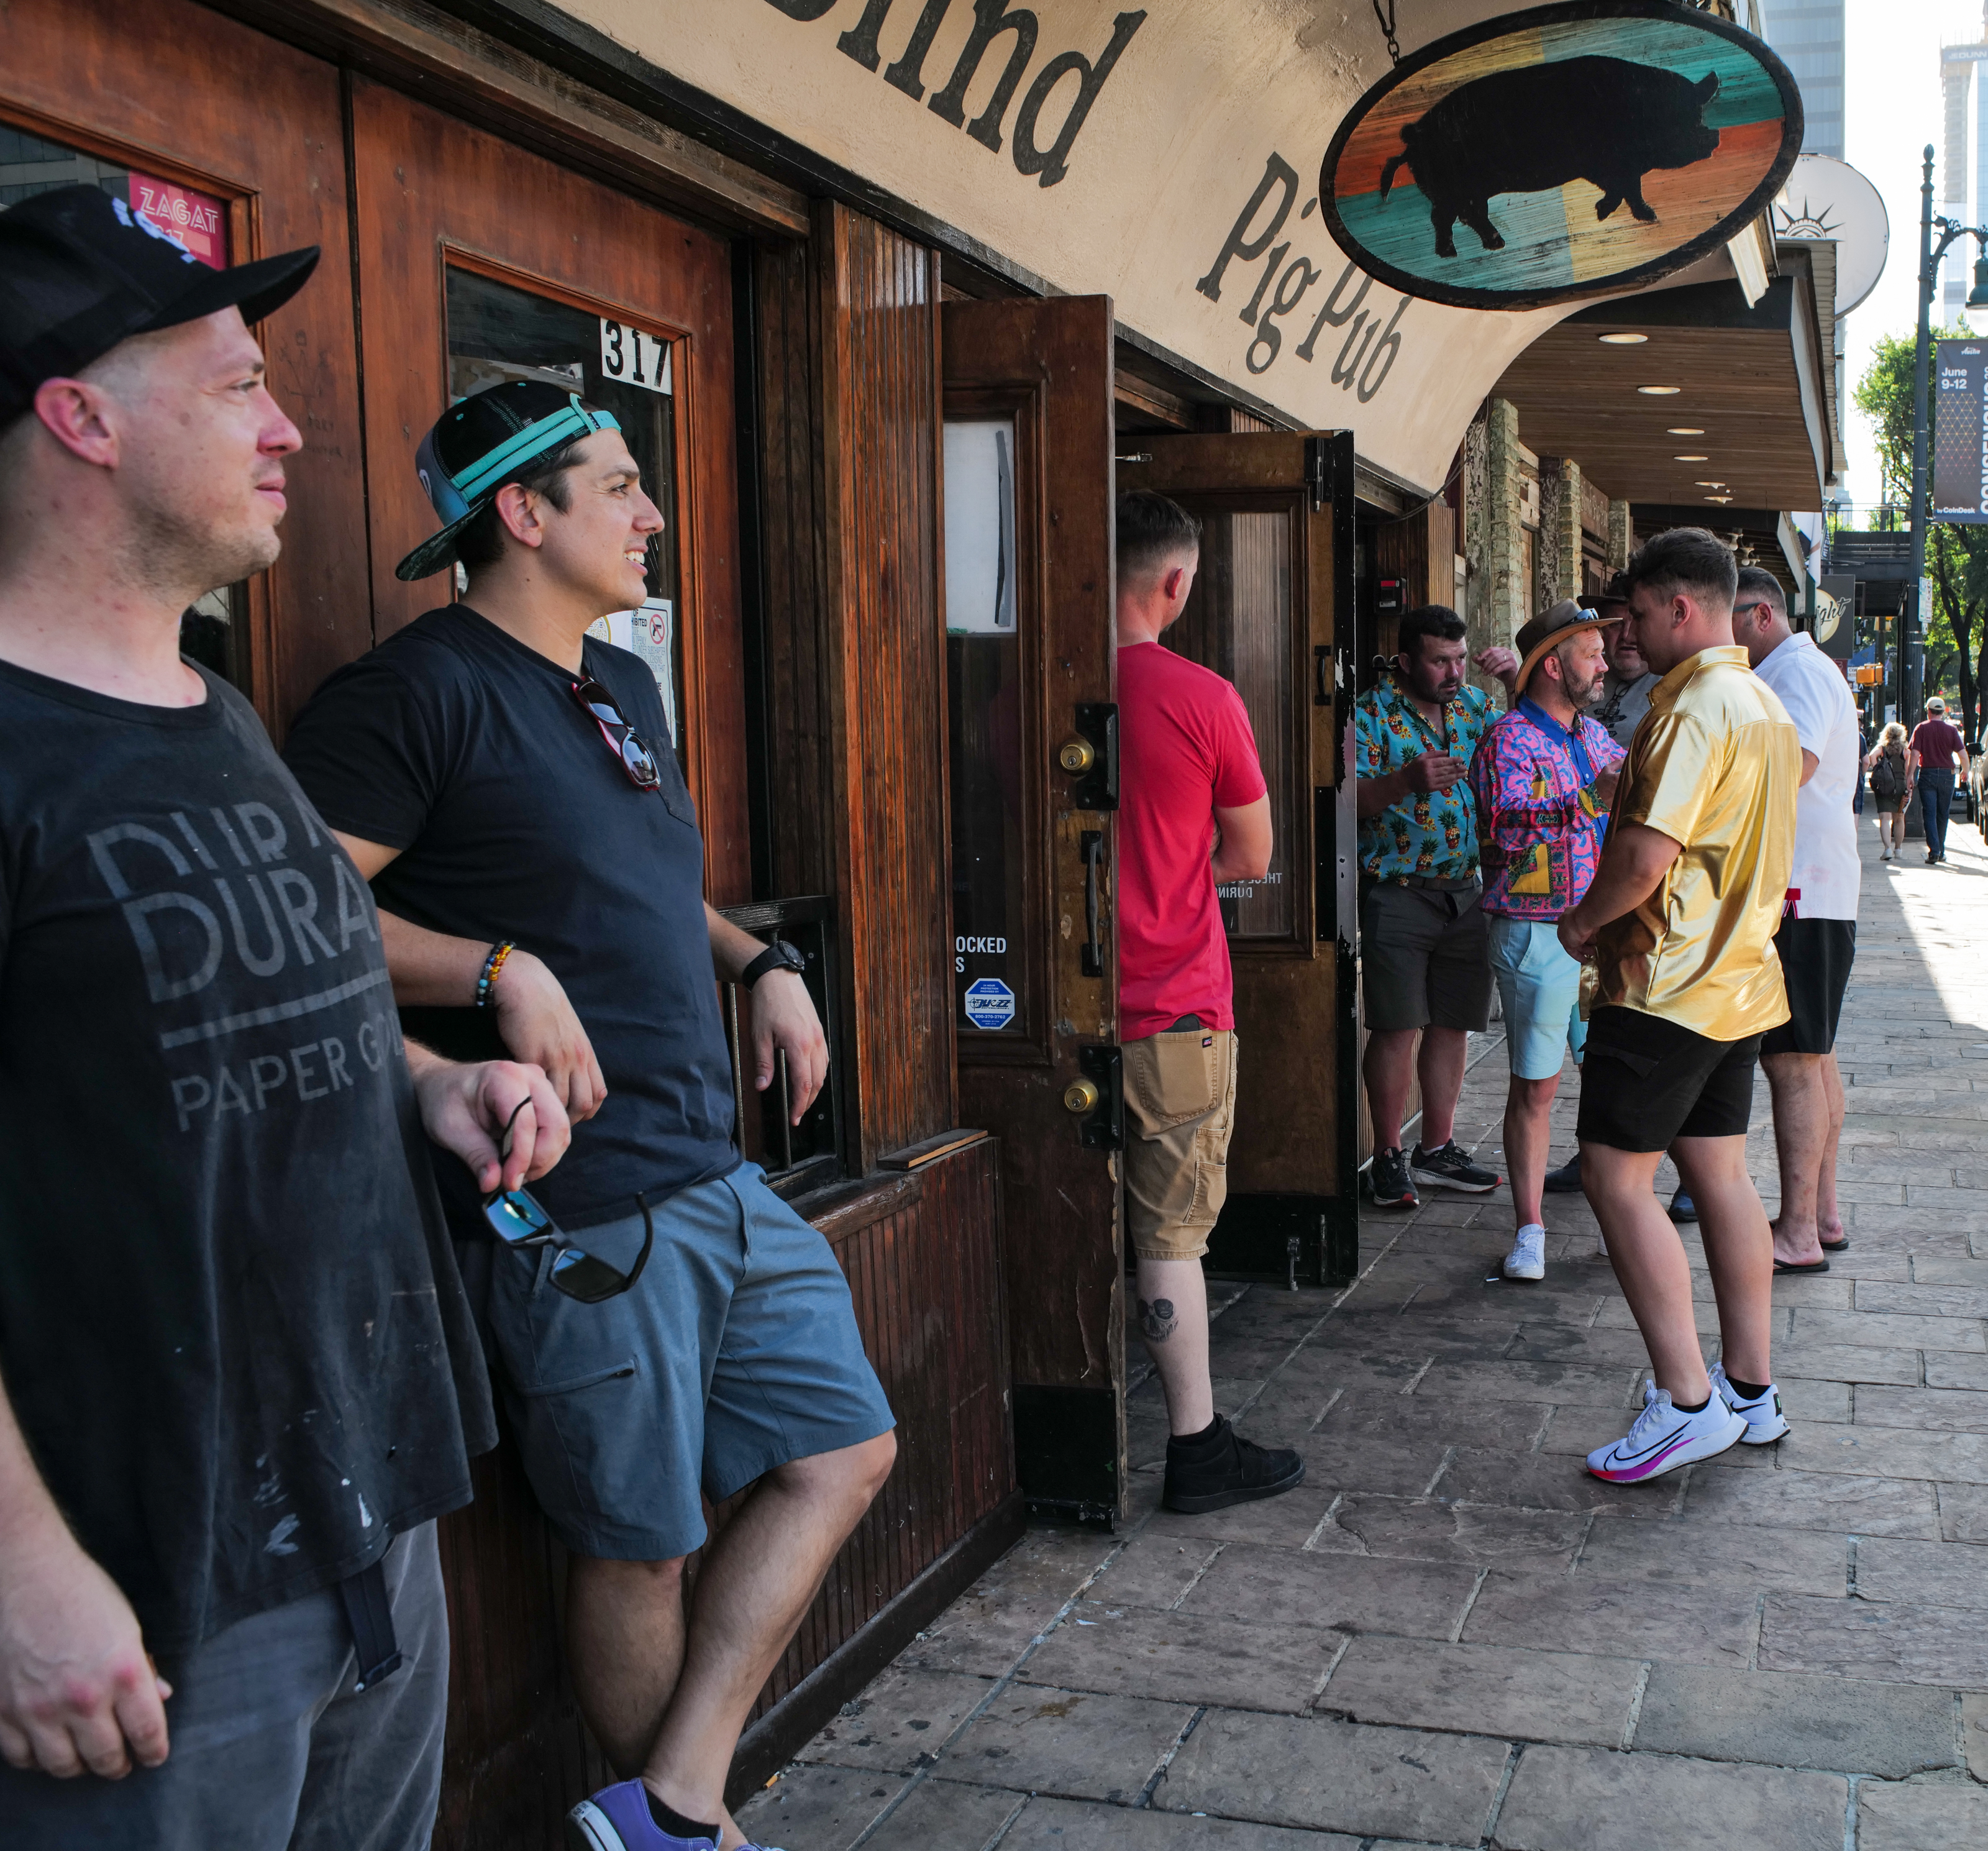
We're sliding into Summer around here. It's consistently near 100° (f) and getting sticky. The grass is turning brown unless you water with no regard for water restrictions (nope, not cheating here) and everything seems to have slowed down. We live in an area of town where many people have vacation homes to escape to and the benefit for those of us who don't is that traffic calms down and reservations at restaurants are easier to come by.
And then there's the daily time in the pool. Mostly early in the morning before the UV gets crazy (and dangerous). Yep. It's Summer in Austin again....