

In recent updates to Lightroom Adobe has added powerful masking tools, many of which operate with automatic precision. I love using "select sky" in my quest to "fix" dull skies. Frequently, I go overboard and slam sliders around with impunity.
Both of these images started life in a Leica SL2 camera fitted with the Sigma Contemporary 18-50mm lens. It's a lens that was designed to work on APS-C cameras. It's small and light and the image circle in no way covers anything close to a full frame sensor. But since the version of the lens I have is dedicated to the L mount it automatically triggers the SL2 to change from full frame to a 1.5X crop. I started using that lens on my big Leica to reduce the size and weight of the overall package. Then I decided I really did like way the files look so I just kept on using it that way.
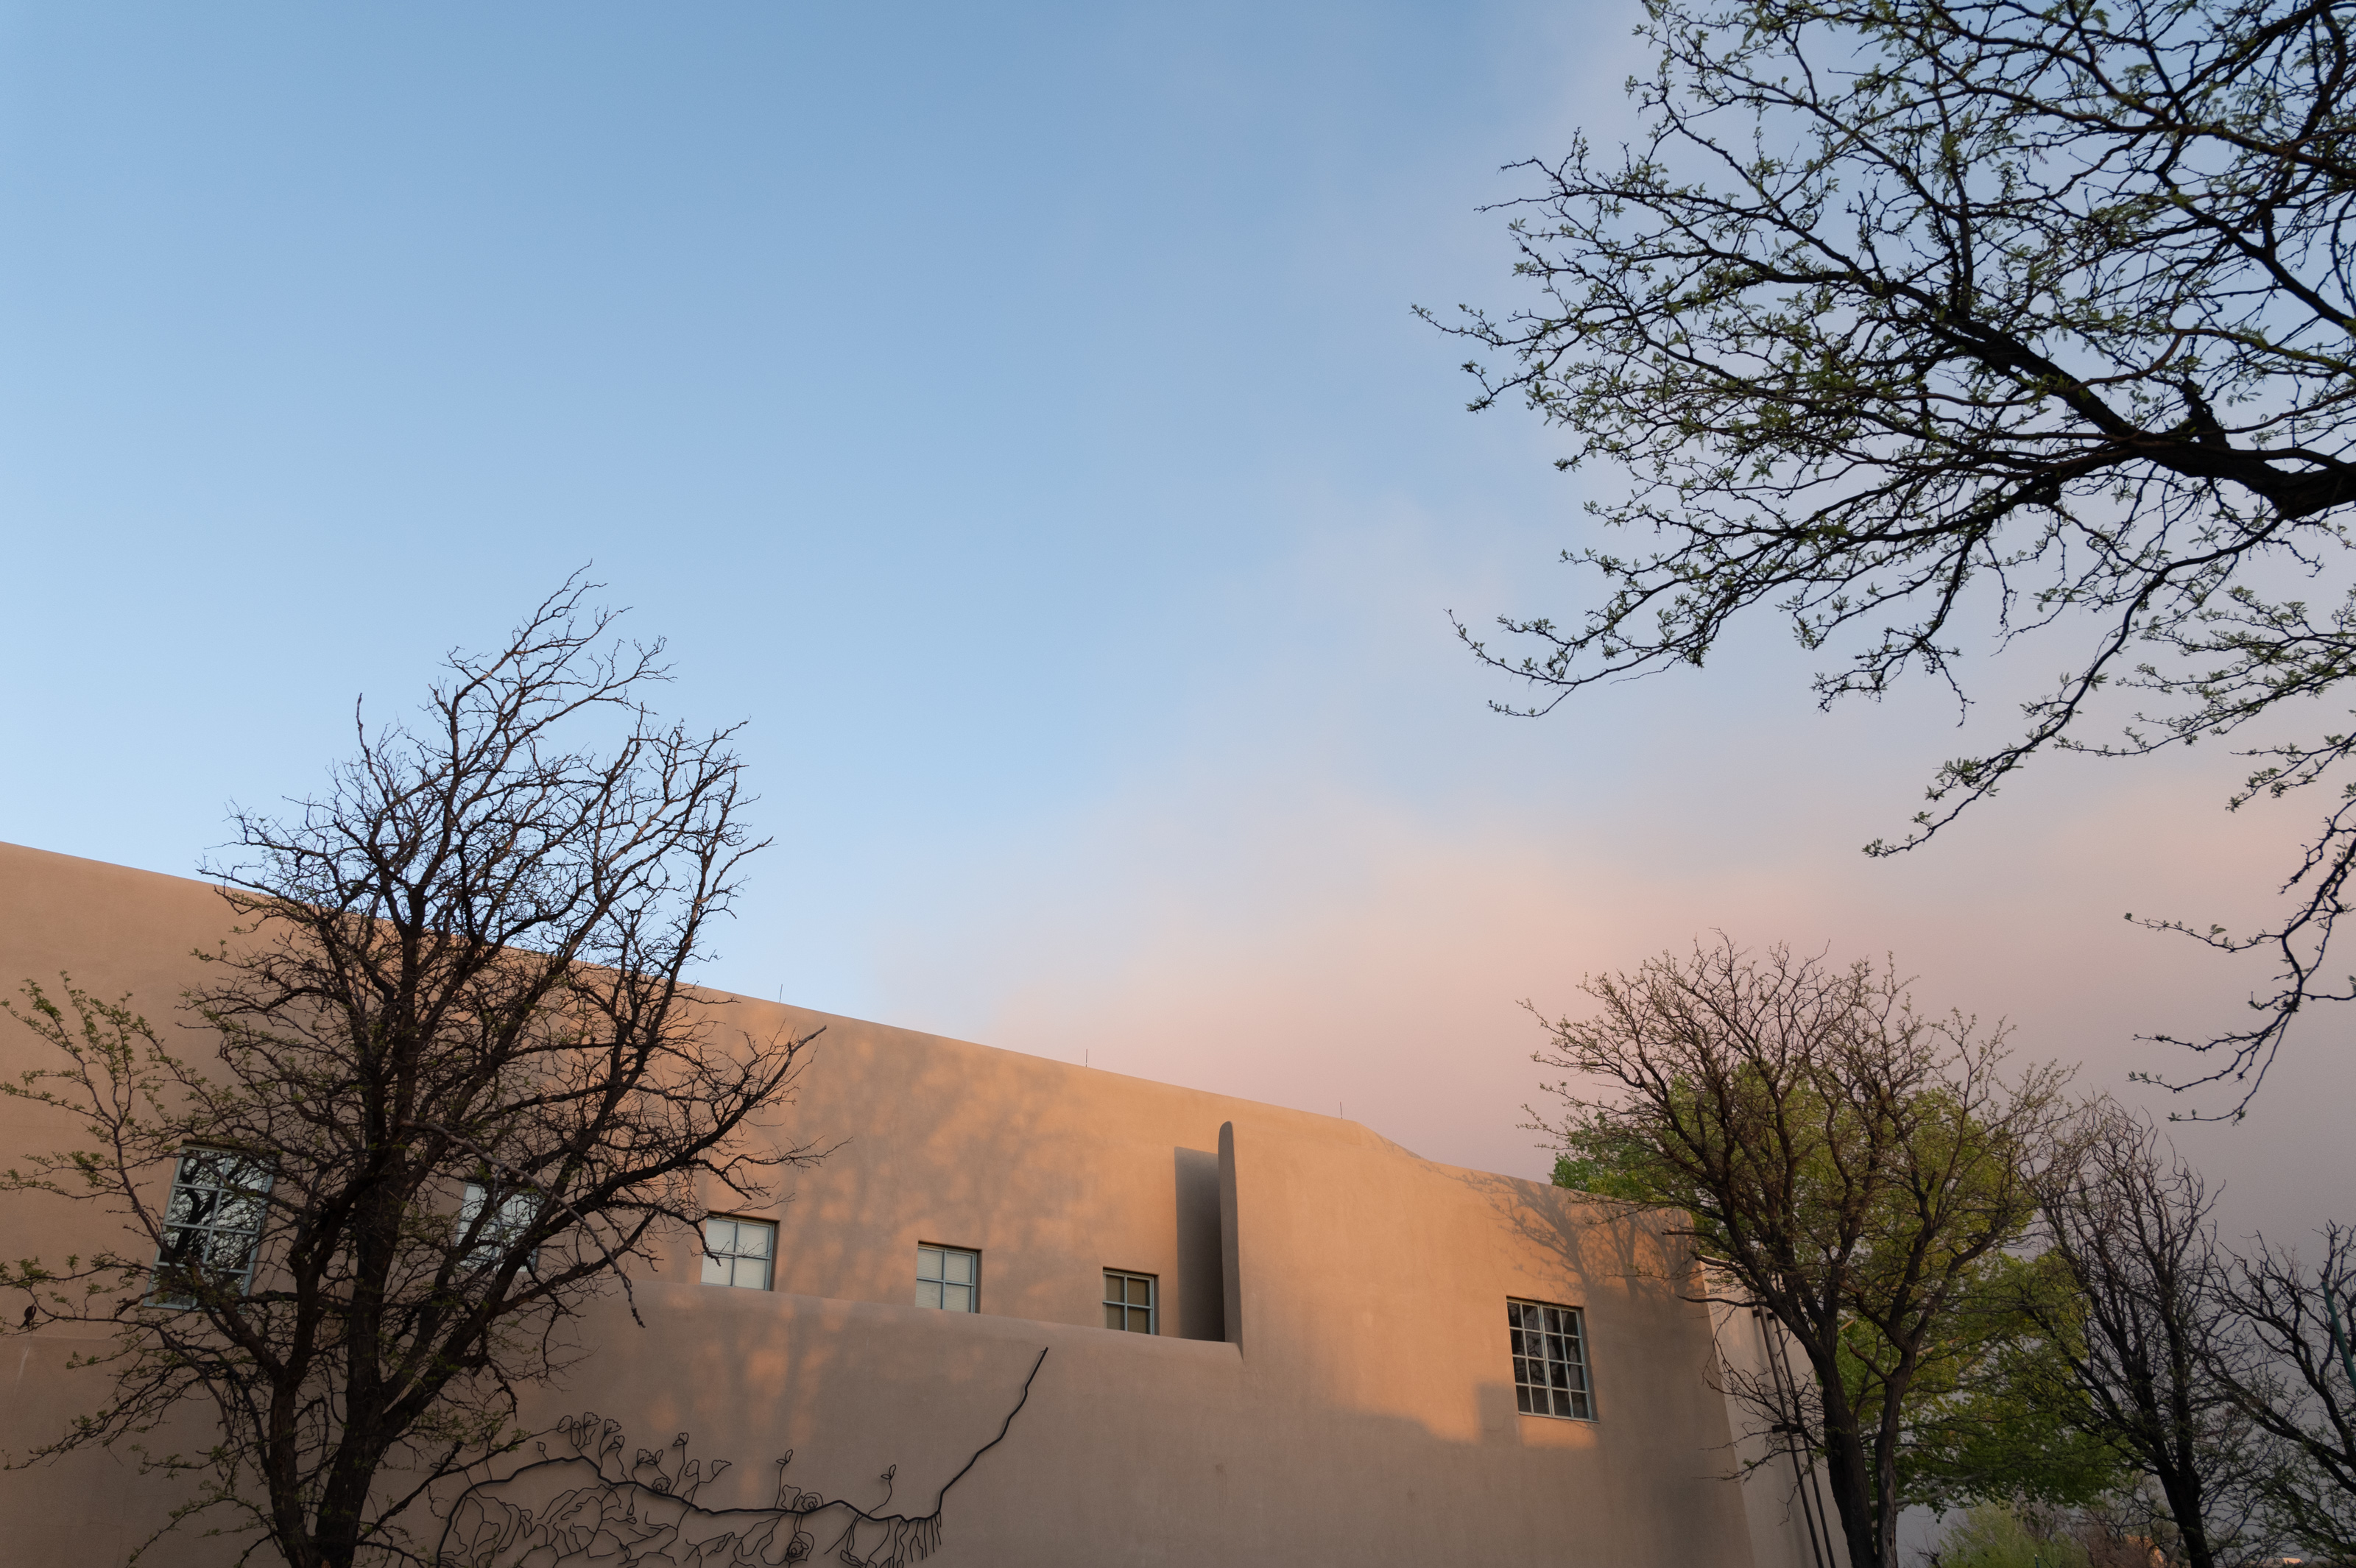
I shot these images on my last evening in Santa Fe as the last light licked the mud buildings in the Plaza.
The color in the sky in the top shot is "as shot" and the discoloration in the right hand side of the frame was caused by arriving smoke from the devastating wildfires NM is currently experiencing.
I used the "select sky" command in Lightroom on a very similar frame and included it on the bottom. Good taste is probably somewhere in the middle but I thought it might be useful to get the "Jerry Springer" approach to color out of my system before moving on to precious things like subtlety and such.
Just thought I should share my Jekyll and Hyde color management skills out in the open.

2 comments:
The bottom image is about what the Santa Fe sky looked like last night.
Right. Because when someone oversaturates the skies they loose the documentary truth of photography and enter the land o' photo illustration.
Post a Comment